To improve your wildlife and nature photography, focus on patience, light, composition and knowing your subject. Shoot in the golden hours after sunrise and before sunset, use a fast shutter speed of 1/1000 second or more for action, continuous autofocus and burst mode, and keep the eyes sharp. Get down to eye level, fill the frame or use negative space, and capture behaviour rather than simple portraits. This guide shares ten essential wildlife photography tips, the best camera settings for every subject, practical gear advice and common mistakes to avoid, from our experienced local safari team in Arusha, Tanzania.
How can I improve my wildlife photography quickly?
The fastest way to improve your wildlife photography is to shoot in soft morning and evening light, use a fast shutter speed with continuous autofocus and burst mode, and always focus on the animal's eyes. Shoot from a low angle, keep backgrounds clean and wait patiently for behaviour such as feeding, hunting or interaction. Rest your lens on a beanbag for stability, shoot in RAW for better editing, and review your images each evening to learn from every game drive.
10 Essential Tips to Improve Your Wildlife and Nature Photography
These ten essential and practical wildlife and nature photography tips cover the skills that make the biggest difference to your images, from patience and understanding animal behaviour to light, perspective and composition. Each tip works for beginners with a simple camera as well as experienced photographers with professional gear, on a Tanzania safari or closer to home. Read the cards below, practise one or two techniques on every game drive, and review your photographs carefully each evening to see how much you progress. Small, consistent improvements quickly transform everyday snapshots into strong, story-telling wildlife images you will treasure.
Master Patience
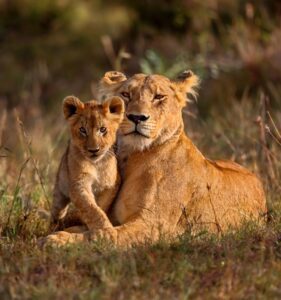
Patience is the wildlife photographer's greatest virtue. Extraordinary moments, such as a mother lion with her cubs or a leopard descending a tree, rarely happen on demand. Instead of rushing between sightings, settle in with a promising subject, switch off the engine and wait. Calm, relaxed animals reward patient photographers with natural behaviour and memorable images.
Know Your Subject
Understanding animal behaviour helps you anticipate the shot before it happens. Learn when lions are most active, how cheetahs hunt in daylight, where leopards rest and which birds visit each habitat. Ask your guide about local animal habits. Knowing what comes next lets you prepare your settings, position the vehicle and frame the decisive moment confidently.
Shoot the Golden Hours
Soft, warm light after sunrise and before sunset flatters wildlife and landscapes, adds depth and brings out rich colours. Animals are also most active in these cooler hours. Near the equator, golden light is short, so be in position early. Midday light is harsh, so use it for scouting, resting or close-detail shots in open shade.
Get Down to Eye Level
Most wildlife photos are taken looking down from a standing height or a vehicle roof. Shooting from the animal's eye level creates a more intimate, powerful image and helps blur distracting backgrounds. On safari, lower your camera to the window line where safe and permitted, and ask your guide to position the vehicle for a lower angle.
Fill the Frame
Filling the frame with your subject removes clutter and draws attention to eyes, textures and expressions. Use a telephoto lens to get close while keeping a safe, respectful distance. A tight portrait of a leopard's gaze, an elephant's wrinkled skin or a bird's feathers often tells a stronger story than a distant animal lost in the scene.
Use Selective Focus
A wide aperture, such as f/2.8 to f/5.6, creates a shallow depth of field that keeps your subject sharp and softens the background into smooth bokeh. This isolates the animal and guides the viewer's eye directly to it. Always focus precisely on the nearest eye, and increase depth of field slightly when photographing herds or interacting animals.
Embrace Negative Space
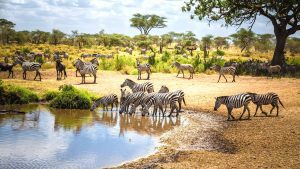
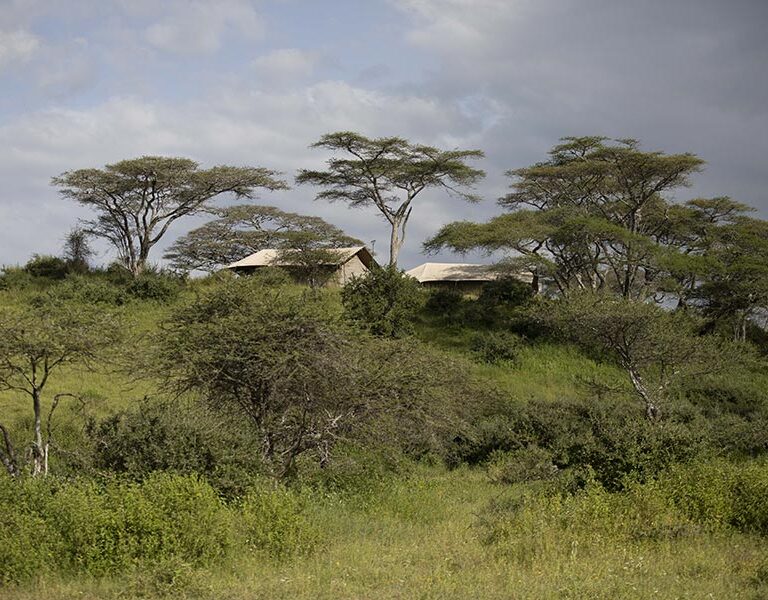
Wide, empty areas of sky, grass or water around your subject can create calm, balance and a strong sense of scale. A lone giraffe crossing open plains, or an acacia tree beneath a stormy sky, shows the vastness of the landscape. Place the subject off-centre using the rule of thirds and leave room in the direction of movement.
Capture Behaviour
Portraits are beautiful, but behaviour tells a story. Look for interactions such as grooming, playing, feeding, hunting, yawning lions or elephants greeting each other. These moments reveal character and emotion. Use burst mode and a fast shutter speed, and keep shooting through the action, because the strongest frame often comes a split second after you expect it.
Use Leading Lines and Frames
Natural leading lines, such as rivers, tracks, ridges and grass patterns, draw the eye towards your subject. Natural frames, including tree branches, rocks and termite mounds, add depth and context to the scene. A lion framed by acacia branches or a winding river leading to a herd creates stronger, more professional compositions on every game drive.
Respect the Wild
Ethical photography always comes first. Never put yourself or the animals at risk for a picture, keep a safe distance, avoid flash, stay on permitted tracks and never feed, bait or disturb wildlife. Follow your guide's advice and park rules. Respectful photography protects wildlife and habitats and captures calmer, more natural behaviour in front of your camera.
Best Camera Settings for Wildlife Photography
The best camera settings for wildlife photography depend on your subject, how fast it moves and the light available. A running cheetah needs a very fast shutter speed, a herd of elephants needs more depth of field, and a leopard at dusk needs a wide aperture and higher ISO. Select each tab below for recommended shutter speed, aperture and ISO, autofocus mode and a practical pro tip for big cats, birds in flight, elephants, landscapes and low light. Use these settings as reliable starting points, then adjust confidently as the light and action change during your game drives.
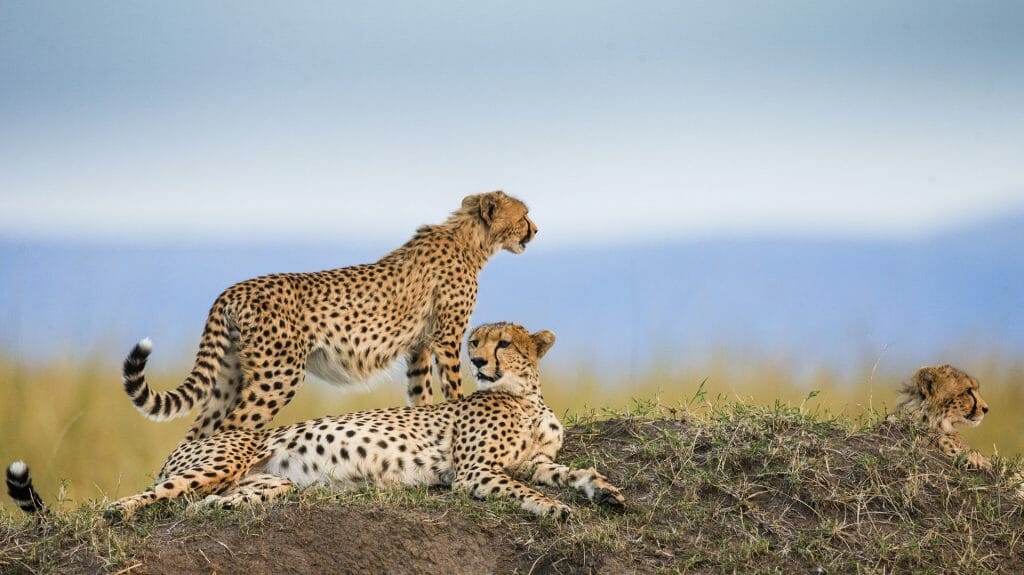
Camera Settings for Running Cheetahs and Hunting Lions
1/1600 to 1/3200 second for running animals
f/4 to f/5.6, auto ISO with a maximum limit
Hunting cats move suddenly and fast, so prepare before the action begins. Switch to continuous autofocus with tracking or animal eye detection, choose a high burst rate and leave space in the frame for movement. Pre-focus carefully on the subject while it rests or watches prey, then follow it smoothly through the chase without stopping your camera movement.
Photography Safaris in Tanzania →
Camera Settings for Birds in Flight and Perched Birds
1/2000 second or faster for flight, 1/800 second perched
f/5.6 to f/8, auto ISO for changing light
Birds are small, quick and unpredictable, so use your longest telephoto lens and a wide autofocus zone for flight shots. For perched birds, switch to a single point on the eye and look for clean branches and soft backgrounds. Tanzania's lakes and parks host hundreds of colourful species, making them excellent places to practise for every keen photographer.
Birds of Tanzania →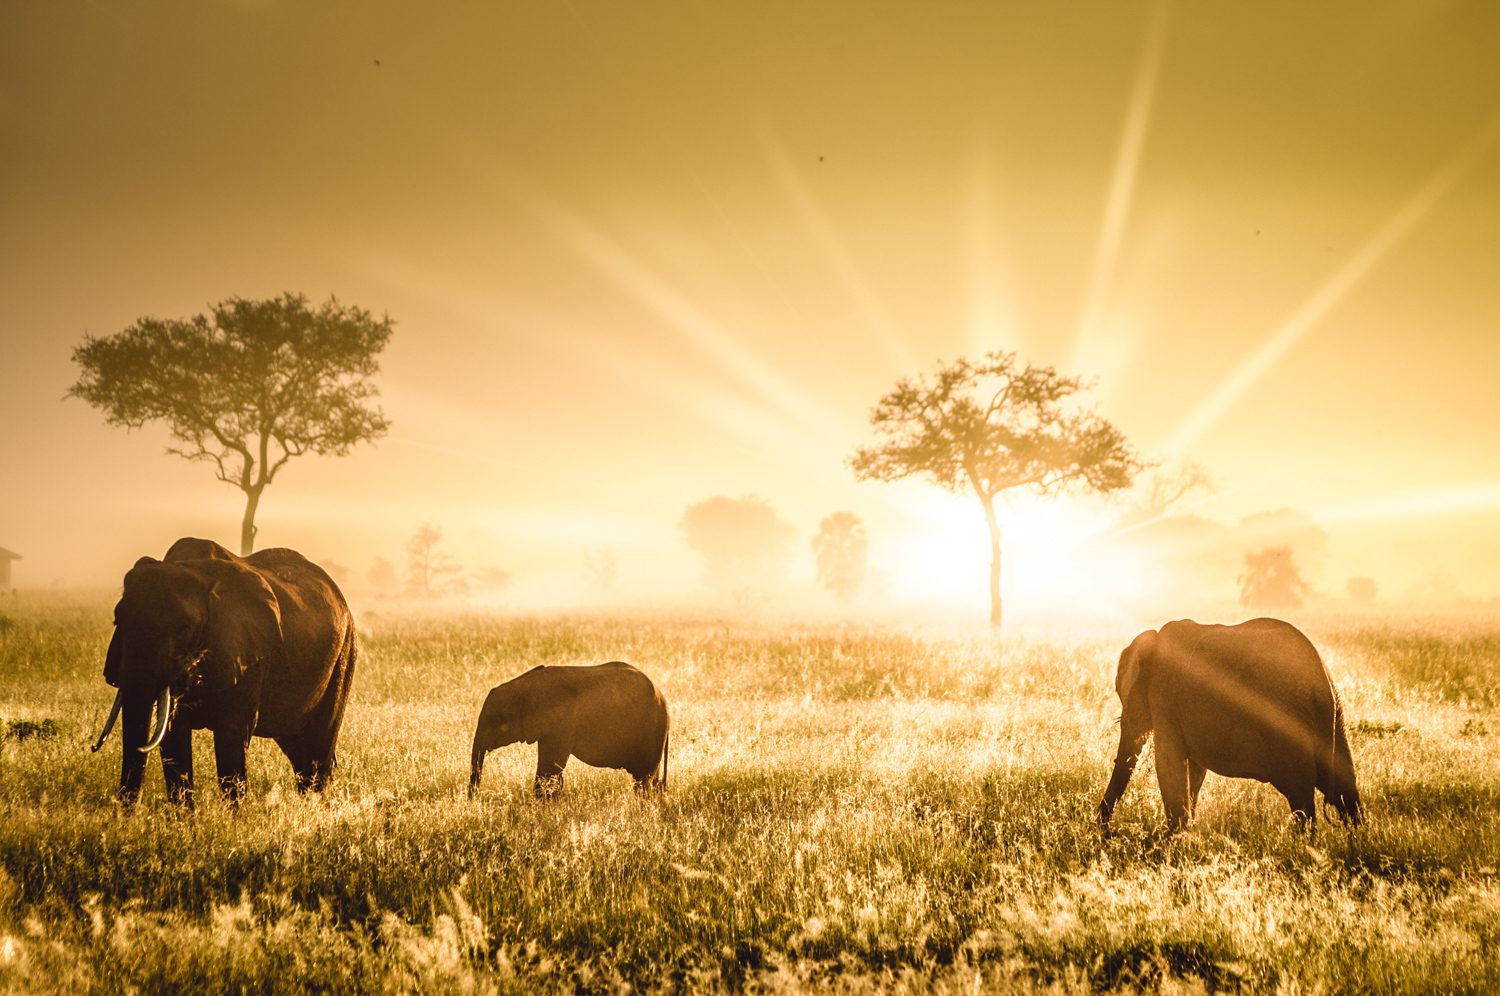
Camera Settings for Elephants, Herds and Family Scenes
1/500 to 1/1000 second for walking animals
f/7.1 to f/11 for several animals, auto ISO
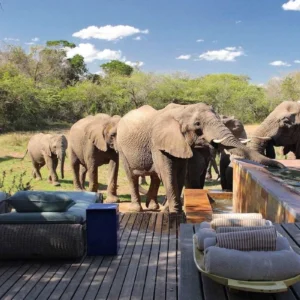
Herds and family scenes need more depth of field, so close the aperture slightly to keep several animals sharp. Watch for family interactions, calves playing, dust bathing and trunk greetings. Use a wider zoom setting to show the herd in its landscape, then switch to telephoto for intimate details such as eyes, tusks and textured, wrinkled skin.
Tarangire National Park →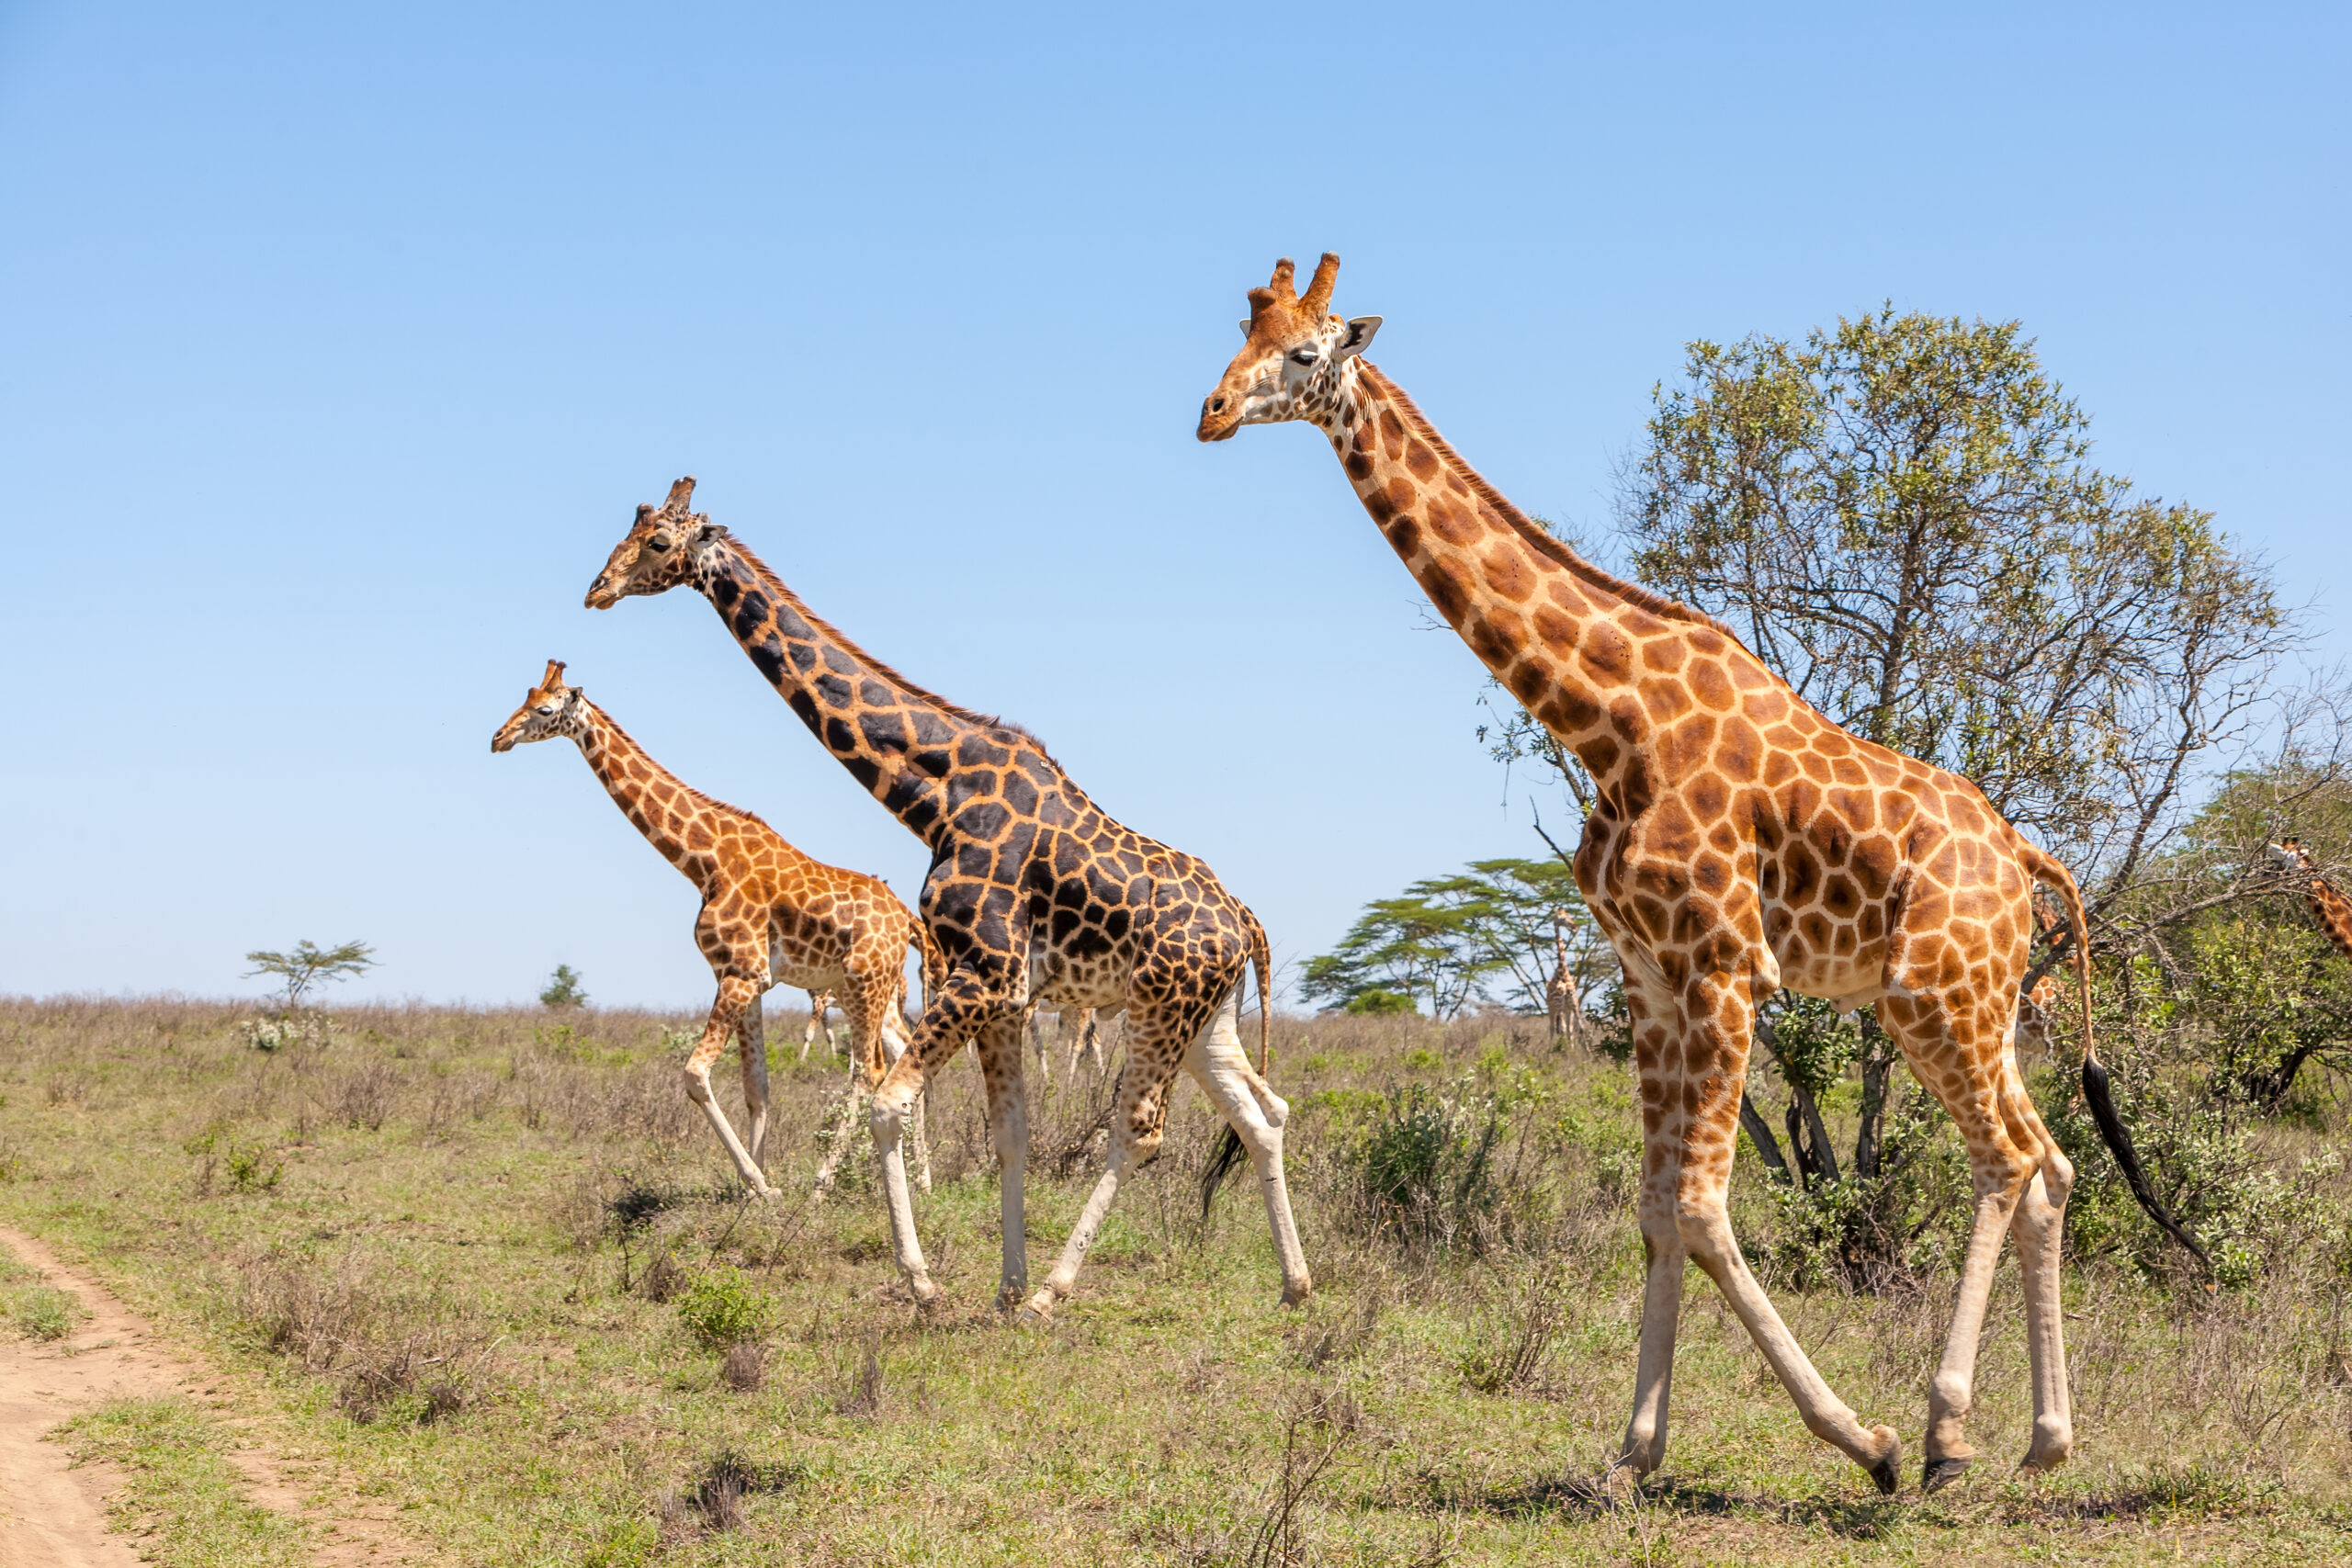
Camera Settings for Safari Landscapes and Wide Scenes
1/250 second or faster from a vehicle
f/8 to f/11, lowest practical ISO
Landscapes reward careful composition, so look for foreground interest such as acacia trees, rocks or grasses, and place the horizon on a third. Shoot at sunrise, sunset or under dramatic storm clouds for extra mood and atmosphere. Include animals as small elements to show scale, and use a polarising filter to deepen skies and reduce glare.
Serengeti National Park →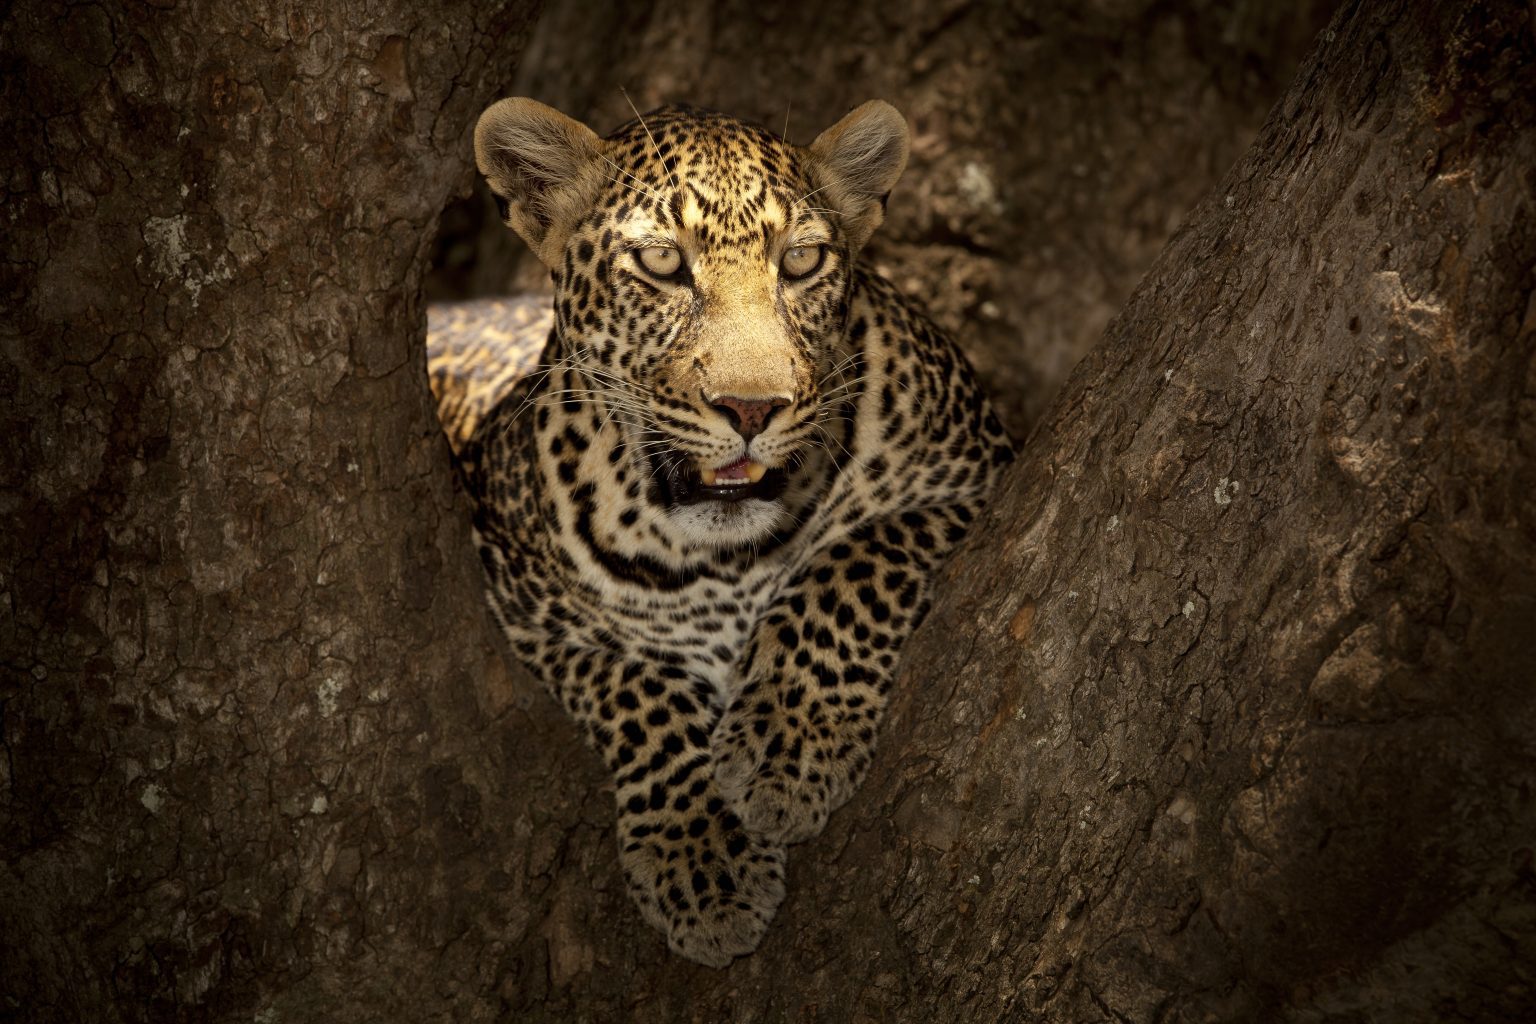
Camera Settings for Low Light at Dawn, Dusk and in Shade
1/250 to 1/500 second for resting animals
Widest aperture, ISO 1600 to 6400 when needed
Early and late light is beautiful but challenging. Open your aperture fully, raise ISO and accept some noise rather than blur, because modern noise reduction cleans images well. Brace your lens firmly on a beanbag, ask your driver to switch off the engine and shoot short bursts to increase your chances of a sharp frame.
Best Camera for Safari Photography →Essential Wildlife Photography Gear for Safari
You do not need the most expensive equipment to take great wildlife photographs, but the right gear makes it easier to capture distant, fast-moving animals in changing light. A capable camera body, a versatile telephoto lens, stable support and reliable power and protection are the four key essentials for any keen safari photographer. The cards below explain what to look for in each category, with popular lens ranges and practical tips for using gear inside a safari vehicle. Practise with all your equipment at home well before travelling, so every setting feels natural when action happens on game drives.
Camera Body
Choose a mirrorless or DSLR camera with fast, accurate autofocus, animal eye detection, a high burst rate and good low-light performance. Weather sealing helps with dust and rain on safari. A bridge camera or modern smartphone can still produce good results in strong light, but interchangeable lens cameras give more flexibility for distant and fast-moving wildlife.
Telephoto Lens
A telephoto zoom of around 100 to 400mm or 150 to 600mm is the most useful lens on safari, covering distant animals, birds and frame-filling portraits. Add a standard or wide zoom for landscapes and animals close to the vehicle. Image stabilisation is very valuable, and a fast aperture helps greatly in low light at dawn and dusk.
Support and Stability
Tripods are rarely practical inside safari vehicles, so use a beanbag on the window frame or roof hatch to steady your lens. A window mount or monopod can help with heavy lenses. Ask your driver to switch off the engine at sightings, and keep your elbows tucked in for extra stability when shooting handheld from the vehicle.
Power, Storage and Protection
Carry spare batteries, plenty of fast memory cards and a portable drive to back up images each evening. Many safari vehicles and camps offer charging points, but power can be limited in remote areas. Protect gear with a padded bag, dust and rain covers, a blower and microfibre cloths for daily cleaning on dusty roads.
Common Wildlife Photography Mistakes and How to Fix Them
Even very experienced wildlife photographers make simple, avoidable mistakes that cost them great images, especially in the excitement of a safari sighting. Soft eyes, slow shutter speeds, busy backgrounds, burnt-out highlights and centred subjects are the most common problems, and every one of them is easy to fix with a little practice and awareness. The cards below explain each mistake and the quick solution, so you can check your settings and compositions before pressing the shutter. Avoiding these errors will instantly improve the sharpness, impact and storytelling of your wildlife and nature photography on safari or at home.
Missing the Eyes
A sharp eye brings a wildlife photograph to life, while a soft eye makes even a beautiful scene feel disappointing. Use a single autofocus point or animal eye detection and place focus on the nearest eye. Wait for a catchlight, a small reflection of light in the eye, which adds life, depth and emotion to portraits.
Shutter Speed Too Slow
Blurry images are the most common safari photography problem. Long lenses magnify both camera shake and animal movement, so use at least one over your focal length for still subjects and much faster speeds for action. Auto ISO with a minimum shutter speed setting is an easy way to keep images sharp in changing light.
Busy Backgrounds
Branches, vehicles and bright patches behind your subject distract the viewer. Before pressing the shutter, scan the edges and background of the frame. Change your angle, wait for the animal to move, use a wider aperture or ask your guide to reposition the vehicle slightly. A clean, simple background makes your subject stand out clearly and beautifully.
Overexposed Highlights
Bright skies, white birds and sunlit grass can easily lose detail. Check your histogram or highlight warnings, and reduce exposure compensation when shooting bright subjects. Shoot in RAW to recover more detail later. In harsh midday light, look for subjects in open shade, or use the strong contrast creatively for dramatic black and white images.
Centring Every Subject
Placing every animal in the centre of the frame makes images feel static. Use the rule of thirds to place the subject off-centre, leave space in the direction the animal is looking or moving, and keep horizons level. Varying your compositions between tight portraits, environmental scenes and wide landscapes creates a far richer safari collection.
Forgetting the Experience
Spending every moment behind the camera can mean missing the experience itself. Take time to watch, listen and enjoy each sighting with your own eyes, especially special moments. Often the best images come after you have observed a scene for a while and understood what the animals are likely to do next on that game drive.
Wildlife Photography Checklist Before Every Game Drive
A quick, simple routine before each morning and afternoon game drive helps you react instantly when wildlife action begins, instead of fumbling with settings or missing the moment. This interactive checklist covers your camera settings, the gear to carry, composition reminders and the ethical habits every wildlife photographer should follow on safari. Tick each item as you prepare and follow your progress with the bar, or print the list and keep it in your camera bag for reference. Our experienced local team also happily shares further photography advice and recommends locations once your private safari is confirmed in writing.
Camera Settings0/5
Gear to Carry0/5
Composition Reminders0/5
Ethics and Safety0/5
Wildlife Photography Guides
Wildlife and Nature Photography: FAQs
What are the best tips for wildlife photography?
Be patient, shoot in golden-hour light, focus on the eyes, use a fast shutter speed with continuous autofocus, shoot at eye level, capture behaviour and always respect wildlife.
What camera settings are best for wildlife photography?
Start with 1/1000 second, a wide aperture of f/4 to f/5.6, auto ISO with a limit, continuous autofocus and burst mode, then adjust for subject and light.
How do I get sharp wildlife photos?
Use a fast shutter speed, continuous autofocus on the nearest eye and burst mode. Rest your lens on a beanbag and ask your driver to switch off the engine.
What is the best lens for wildlife photography?
A telephoto zoom of about 100 to 400mm or 150 to 600mm is the most versatile choice, covering distant animals, birds and frame-filling portraits on safari.
What is the best time of day for wildlife photography?
Early morning and late afternoon, the golden hours, offer soft warm light and the most active animals. Midday light is harsh and many animals rest in shade.
How can beginners improve their nature photography?
Learn your camera's basic settings, use the rule of thirds, watch the light, keep backgrounds clean, practise regularly and review your images to learn from every outing.
Can I take good wildlife photos with a smartphone?
Yes, in good light and with closer animals. Use the telephoto lens, avoid digital zoom, tap to focus on the eyes and steady the phone against the vehicle.
Should I use a tripod on safari?
Tripods are rarely practical in safari vehicles. A beanbag on the window or roof hatch is the best support, with a monopod or window mount for heavy lenses.
How do I photograph birds in flight?
Use a shutter speed of 1/2000 second or faster, continuous autofocus with a zone or tracking area, burst mode, and start tracking the bird before it takes off.
How do I photograph wildlife in low light?
Open your aperture fully, raise the ISO, brace your lens on a beanbag and shoot in RAW. Accept some noise rather than blur, as noise is easier to fix.
Should I shoot RAW or JPEG for wildlife?
Shoot RAW for the most detail and editing flexibility, especially in difficult light. RAW plus JPEG is a good option if you want quick images to share.
How close can I get to wildlife for photos?
Always keep a safe, respectful distance and follow your guide and park rules. Use a telephoto lens for close-ups so animals stay relaxed and natural.
What is ethical wildlife photography?
Ethical wildlife photography means never disturbing, baiting or stressing animals, avoiding flash, staying on permitted tracks and putting animal welfare before any photograph.
Is a private safari better for photography?
Yes. A private vehicle lets you stay at sightings as long as you wish, wait for the best light and position for angles, with space for your camera gear.
Plan Further: Tanzania Safaris and Destinations
Tanzania Safaris
Destinations
Plan Your Private Photographic Safari
Tell us the wildlife and landscapes you would love to photograph, and our local team in Arusha will design a private tailor-made safari with a patient guide, the best light and time at every sighting.
Book Now Online →What Our Travelers Say
Real 5-star reviews from guests who traveled with us