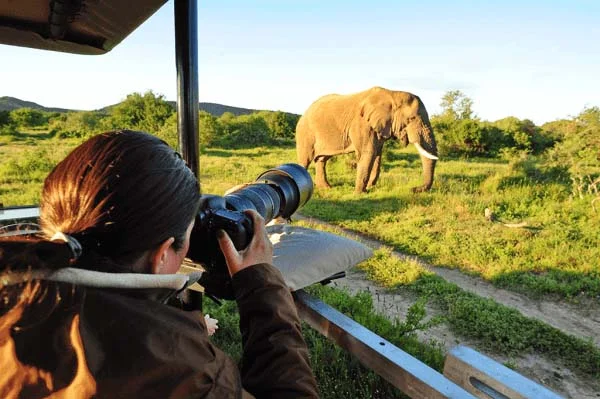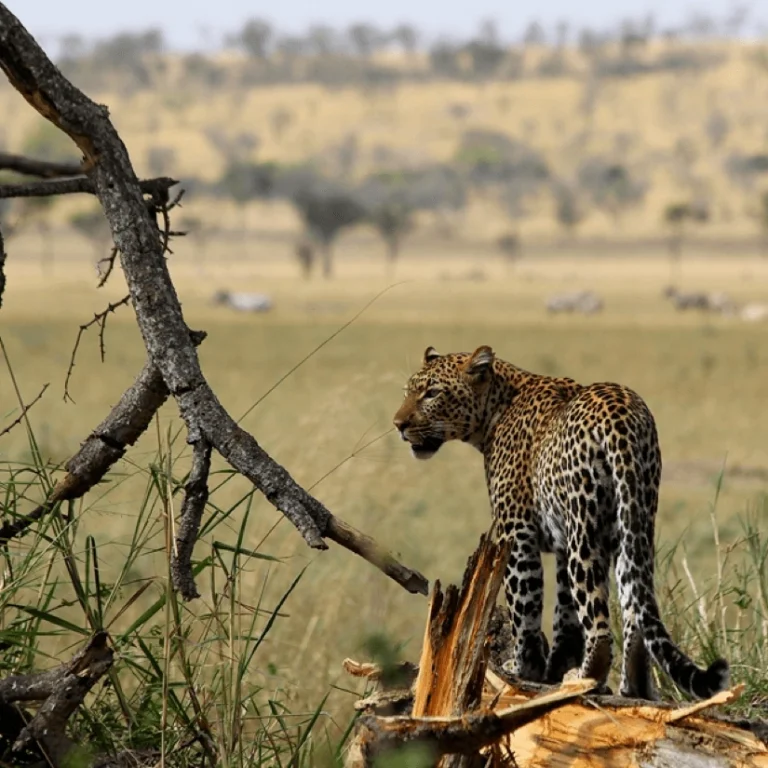
To improve your safari photographs, learn your camera before you travel, pack a telephoto zoom lens, use a fast shutter speed of 1/1000 second or more, rest your lens on a beanbag and shoot in RAW. Photograph in soft morning and evening light, focus on the eyes, use the rule of thirds and get down low to eye level. Be patient, anticipate behaviour and include the landscape to tell a richer story. These 20 simple safari photography tips work for beginners and experienced photographers alike, and come from our friendly, experienced local safari team based in Arusha, northern Tanzania.
What are the most important safari photography tips?
The most important safari photography tips are to know your camera well, use a telephoto lens, choose a fast shutter speed with continuous autofocus and burst mode, and steady your lens on a beanbag. Shoot in the golden hours, focus on the animal's eyes, keep backgrounds clean and frame subjects with the rule of thirds. Above all, be patient, watch behaviour closely and always respect wildlife, because the best safari photographs come from calm animals behaving naturally.
Gear and Camera Settings for Better Safari Photos
Great safari photographs start with preparation, and the right gear and camera settings make it much easier to capture sharp images of fast, distant and unpredictable wildlife. These first five simple tips cover knowing your camera, choosing a telephoto lens, using a fast shutter speed, stabilising your camera in the vehicle and shooting in RAW. Each one is easy to apply, whether you use a professional mirrorless camera, an entry-level model or a bridge camera. Master these simple basics well before your trip, and you will be ready to react confidently when the action begins on game drives.
Know Your Gear Inside Out
Learn every button, dial and autofocus setting before your safari, so changing settings becomes instinctive when a leopard appears or a cheetah starts to run. Practise at home, in a local park or at a zoo. Set up custom buttons for your favourite modes, and read your camera manual on the flight to refresh your memory.
Pack a Telephoto Lens
A telephoto zoom lens is the most useful lens on safari. A range of about 100 to 400mm or 150 to 600mm covers distant animals, birds and frame-filling portraits while keeping a safe, respectful distance. Also add a standard or wide zoom lens for landscapes, camp scenes and animals that come close to the safari vehicle.
Use a Fast Shutter Speed
A fast shutter speed freezes movement and keeps images sharp. Use at least 1/1000 second for walking or running animals and 1/2000 second or faster for birds in flight. For resting animals, 1/250 to 1/500 second is usually enough. Auto ISO with a minimum shutter speed setting keeps your images sharp in quickly changing light conditions.
Stabilise Your Camera
Tripods are rarely practical in safari vehicles, so rest your lens on a beanbag on the window frame or roof hatch. Turn on image stabilisation, keep your elbows tucked in and ask your driver to switch off the engine at sightings. Avoid leaning on the vehicle while others move, as even slight vibration easily softens your images.
Shoot in RAW
RAW files keep far more detail in highlights and shadows than JPEG files, giving you greater flexibility to correct exposure, white balance and colour when editing. This is valuable in the high contrast of African light. RAW files are larger, so pack plenty of memory cards and back up your images every evening at camp.
Light, Focus and Composition Tips for Safari Photography
Light, focus and good composition clearly separate ordinary snapshots from striking safari photographs that people remember. These five simple tips explain how to use the soft light of the golden hours, why focusing on the eyes matters so much, how the rule of thirds creates balance, why getting low improves perspective and how depth of field changes the feel of an image. Practise one technique at a time on each game drive, then compare and review your results carefully each evening at camp. Small changes in light, angle and framing quickly make a dramatic difference to your safari photographs.
Understand the Light
The best safari light falls in the first and last hours of the day, when it is soft, warm and low, adding depth and colour. Midday sun is harsh, creating strong shadows and squinting animals. Near the equator, golden light is short, so be ready early and use midday for resting, editing or close detail shots.
Focus on the Eyes
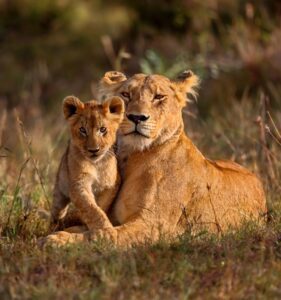
Sharp eyes bring wildlife photographs to life, so always place your focus point on the nearest eye. Use a single autofocus point or animal eye detection where available. Wait patiently for a catchlight, a small reflection of light in the eye, which adds life and emotion. If the eyes are soft, the whole image rarely succeeds.
Use the Rule of Thirds
Imagine your frame divided into a grid of three by three, and place the animal or its eyes on one of the lines or intersections. This creates more balanced, dynamic compositions than centring every subject. Leave space in front of the animal in the direction it is looking or moving, and always keep your horizons straight and level.
Get Down Low
Photographing at the animal's eye level creates more intimate, powerful images and blurs distracting backgrounds. In a safari vehicle, shoot through the window rather than the roof hatch when animals are close and low. Ask your guide to position the vehicle at a slight distance to flatten the angle for a lower, more natural and engaging perspective.
Experiment with Depth of Field
A wide aperture, such as f/4 or f/5.6, blurs the background and makes your subject stand out clearly. A narrower aperture, such as f/8 to f/11, keeps more of the scene sharp for herds, interactions and landscapes. Try both on the same sighting, and review your images carefully to see which version tells the story best.
Safari Photography Tips for Every Situation
Safari photography is not only about game drives, and each activity in Tanzania needs a slightly different approach to lenses, settings and technique. Shooting from a safari vehicle, a hot air balloon, a canoe, a night game drive or a birding stop each brings its own challenges and creative opportunities. Select each tab below for the best lens, key camera settings, what to watch for and a practical pro tip for each situation, with links to our related activity guides. Use these quick, practical tips to arrive prepared and capture a more varied, story-telling collection of safari photographs.
Photography on Game Drives in a Safari Vehicle
Telephoto zoom plus a standard zoom
1/1000 s, f/5.6, auto ISO, continuous autofocus
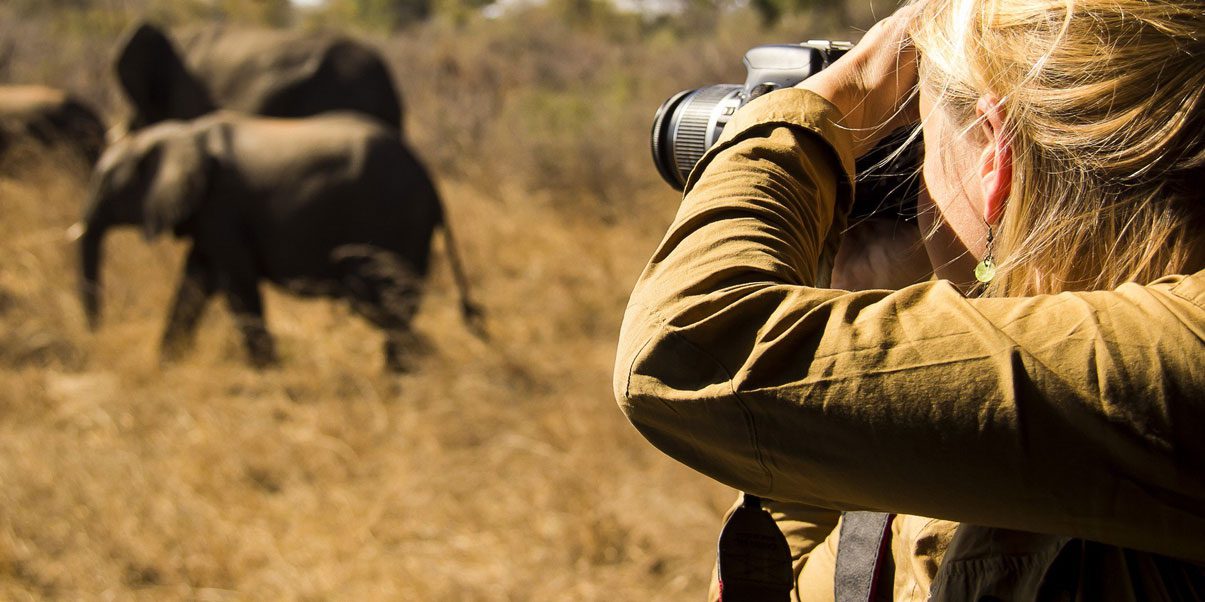
Most safari photographs are taken from the vehicle on game drives. Keep your camera ready on your lap with settings prepared, rest the lens on a beanbag and use the window for lower angles. Communicate with your guide about light and positioning, and stay quiet at sightings so animals remain relaxed and natural for your photographs.
Photography Safaris in Tanzania →
Photography on a Hot Air Balloon Safari
Standard zoom and a light telephoto
1/1000 s or faster, f/5.6 to f/8, auto ISO
A sunrise balloon safari over the Serengeti offers unique aerial views of herds, rivers and endless plains. The basket moves gently, so use a fast shutter speed and avoid heavy lenses. Look for patterns, long shadows and animals crossing open ground, and photograph the colourful balloons themselves against the soft early morning sky and landscape.
Balloon Safaris →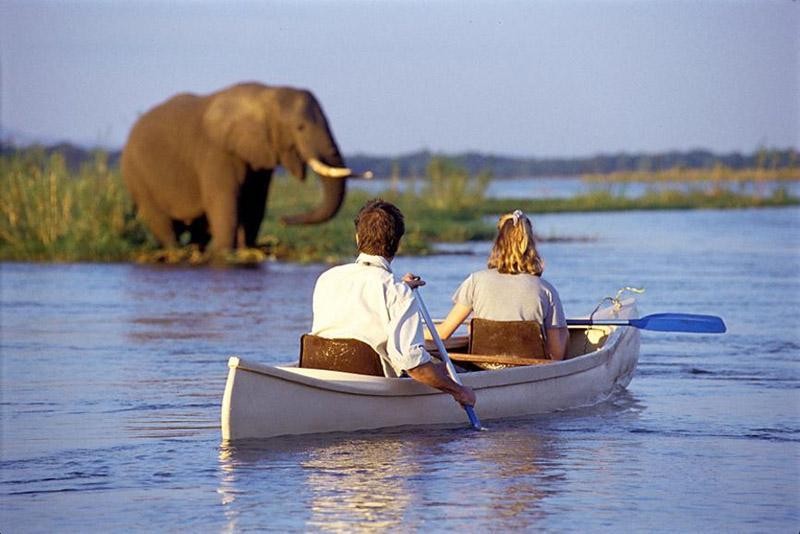
Photography on Canoe and Water Safaris
Weather-sealed telephoto or travel zoom
1/1000 s, f/5.6, auto ISO, stabilisation on
Canoe and boat safaris offer wonderful low angles of water birds, hippos and lakeside wildlife, with beautiful reflections in calm water. Keep your camera in a dry bag between sightings, use a strap at all times and choose a lighter lens that is easy to hold. Calm mornings give the best reflections and softest light.
Canoeing Safaris →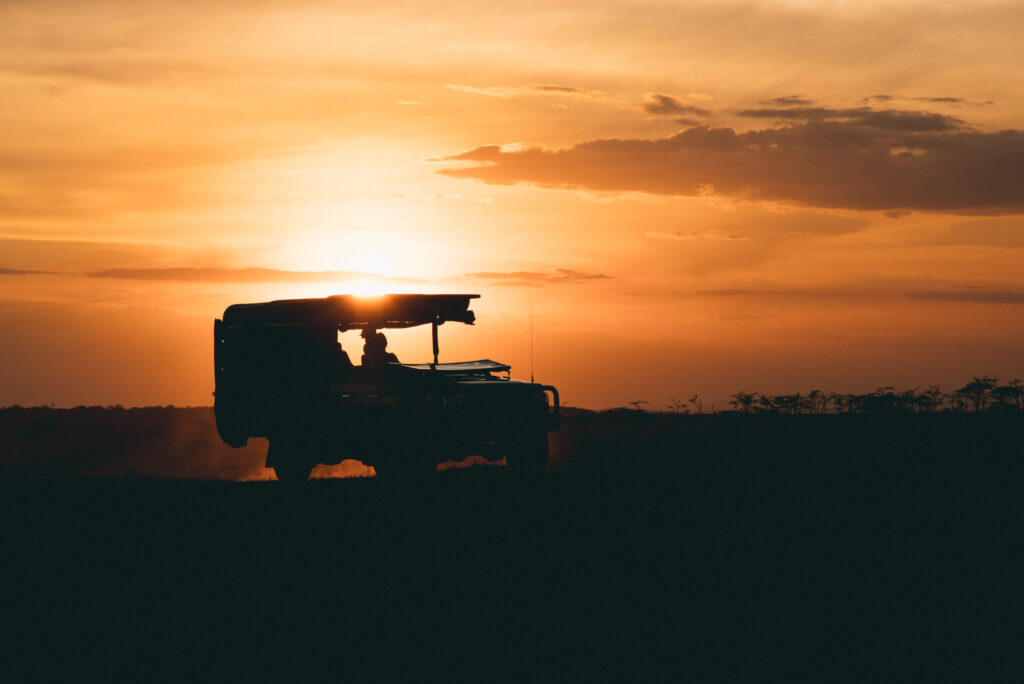
Photography on Night Game Drives
Fast lens with a wide aperture
1/250 s, widest aperture, ISO 3200 to 6400
Night game drives are available in selected parks and private areas, revealing nocturnal animals such as genets, bushbabies, hyenas and owls. Never use flash on animals. Work with the guide's spotlight, raise your ISO, open your aperture fully and brace your lens firmly. Accept some noise, and enjoy the special atmosphere of the bush after dark.
Night Game Drives →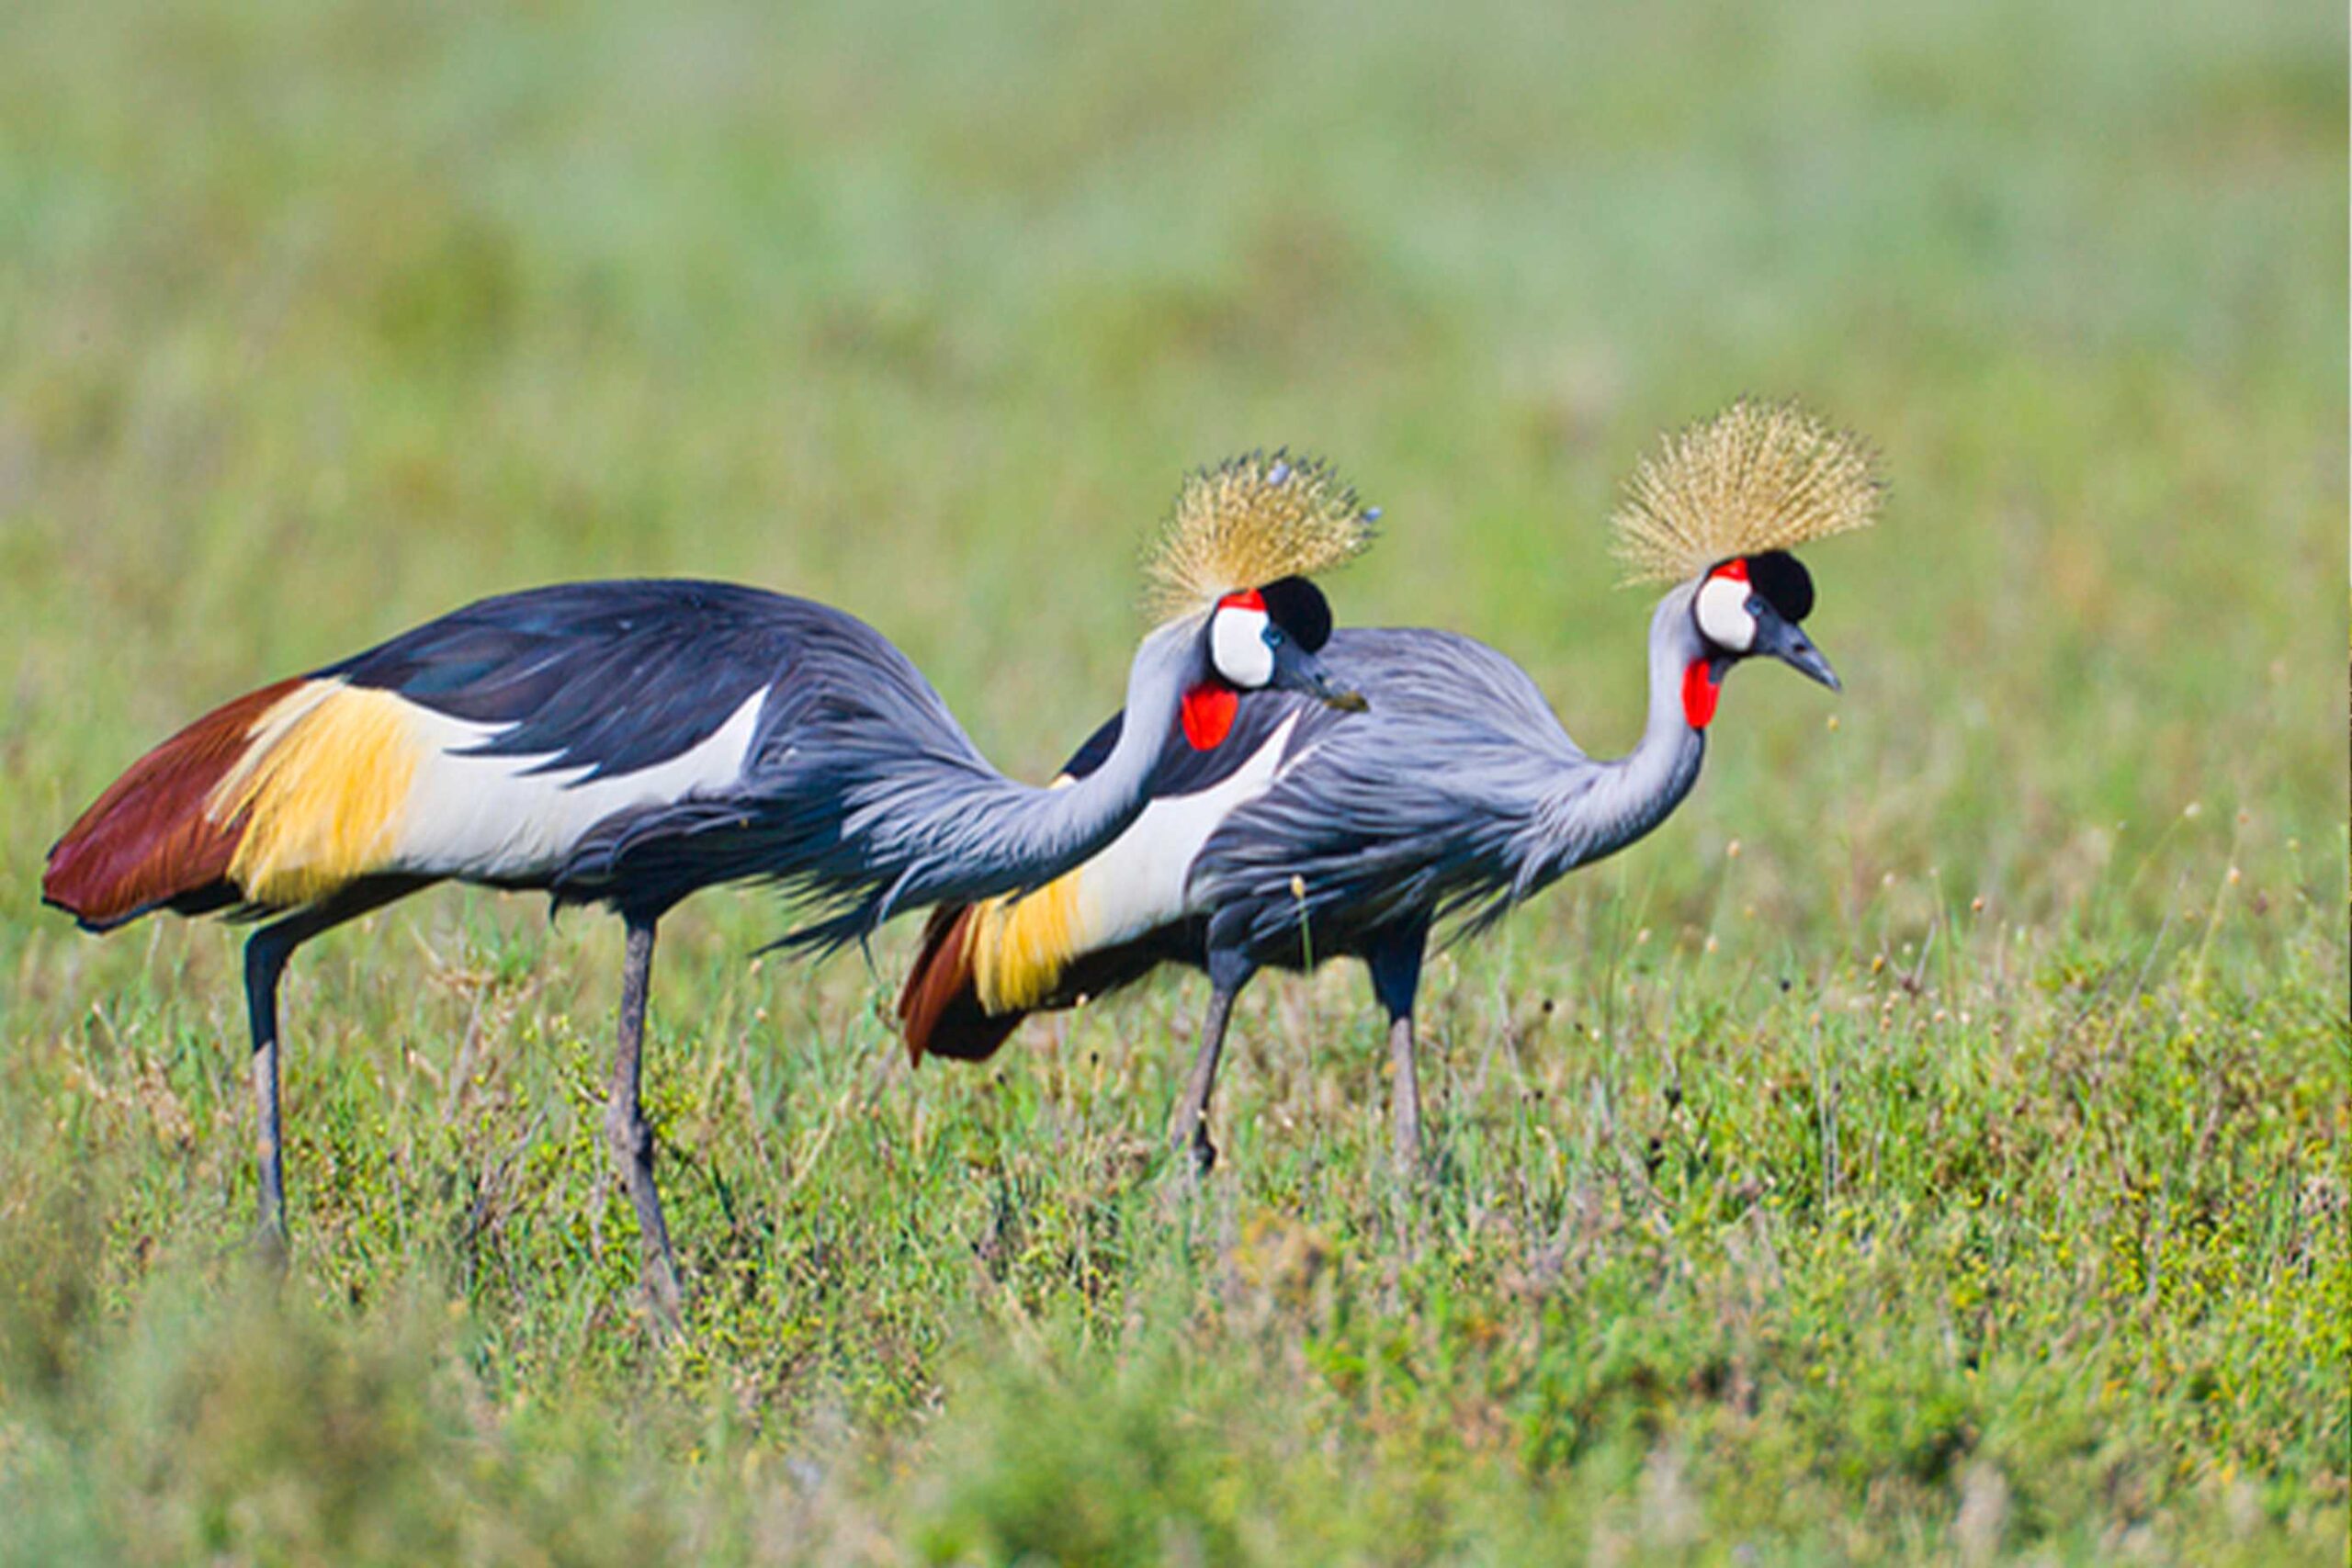
Photography of Birds on Safari
Longest telephoto lens available
1/2000 s for flight, f/5.6 to f/8, auto ISO
Tanzania hosts more than a thousand bird species, from colourful bee-eaters and rollers to eagles and flamingos. Birds are small and fast, so use your longest lens, a high shutter speed and continuous autofocus. Look for clean perches and soft backgrounds, and photograph early in the morning, when birds are most active and the light is soft.
Birds of Tanzania →Behaviour, Timing and Storytelling on Safari
Timing and storytelling turn technically good, sharp images into memorable safari photographs with emotion and meaning. These five simple tips explain how to anticipate animal behaviour, keep backgrounds clean, stay patient at sightings, use continuous shooting mode for action and include the environment to show a sense of place. They work for every camera and every skill level, and they rely on careful observation and local knowledge as much as on expensive equipment. Combine them with the earlier gear and composition tips, and you will capture far more decisive moments and varied images on each game drive in Tanzania.
Anticipate Behaviour
Watch animals closely and learn the signs that something is about to happen, such as a lion standing up, a cheetah fixing its gaze or birds shifting before take-off. Ask your guide what to expect next. Anticipating behaviour lets you prepare settings, frame the scene and be ready for the decisive moment before it unfolds.
Mind Your Background
A cluttered background of branches, bright sky or vehicles distracts from your subject. Before pressing the shutter, scan the edges and background of the frame. Change your angle, wait for the animal to move, use a wider aperture or ask your guide to reposition slightly. A clean background makes your subject stand out instantly and clearly.
Stay Patient
Patience is the secret of great safari photography. Animals often sleep, rest or hide for long periods before something special happens. Stay a little longer at promising sightings, especially with big cats, rather than rushing off to find the next animal. A private vehicle gives you the freedom to wait as long as you wish.
Use Continuous Shooting Mode
Continuous shooting, also called burst mode, captures several frames per second and greatly increases your chances of a perfect image during fast action. Combine it with continuous autofocus to track moving animals. Shoot short bursts rather than holding the button down, so your buffer and memory cards do not fill up at the critical moment.
Capture the Environment
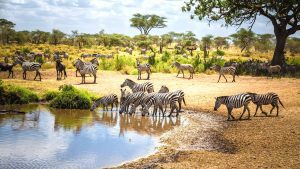
Not every safari photograph needs to be a close-up. Wider images that show an animal in its habitat, such as elephants beneath baobabs or a lion on a kopje, tell a stronger story about place. Zoom out sometimes, include landscapes, skies and trees, and use the animal as a smaller element to show the true scale of the landscape.
People, Light, Editing and Ethics
The final five simple tips help you complete your safari story with people and atmosphere, and look after the wildlife you photograph so carefully. They explain how to include people respectfully, make the most of changing light and weather, stay prepared for unexpected moments, edit your images wisely and practise ethical wildlife photography at every sighting. Together, these tips make sure your collection captures the full experience of a Tanzania safari, not only the animals. Follow these tips alongside the earlier advice, and you will return home with honest, beautiful and varied safari photographs to share and treasure.
Include Human Elements
Some of your most treasured safari photographs will include people. Photograph your travel companions watching wildlife, your guide at work, sundowners on a hill or camp life by the fire. Always ask permission before photographing local people, respect their wishes and consider offering to share images. These pictures capture the full story of your trip.
Watch for Changing Light and Weather
Light and weather on safari change quickly. Storm clouds, rainbows, mist on Ngorongoro Crater, dust in the dry season and backlight at sunset all create dramatic opportunities. Keep checking your exposure as conditions change, try silhouettes against colourful skies and do not pack your camera away just because the light looks unusual or difficult at first.
Be Prepared for the Unexpected
Some of the best safari moments happen without warning, between sightings or on the road back to camp. Keep your camera switched on with a fresh battery and suitable settings, the lens cap off and the beanbag ready. Carry spare batteries and memory cards on every drive, and protect gear from dust with a cover.
Edit Wisely
Thoughtful editing brings out the best in your safari photographs. Adjust exposure, contrast, white balance and cropping, and reduce noise in low-light images, but keep edits natural so animals and landscapes look real. Back up images every evening, select your favourites carefully and share a strong, varied collection rather than hundreds of very similar frames of one sighting.
Practise Ethical Photography
Always put wildlife welfare first. Keep a safe distance, never use flash on animals, stay on permitted tracks, keep noise to a minimum and never ask your guide to break park rules for a photograph. Respectful photography protects animals and habitats and captures calmer, more natural behaviour that makes your safari images feel far more authentic.
Safari Photography Kit Checklist
Packing the right photography kit makes it much easier to apply these simple tips on safari and react quickly when wildlife action begins. This interactive checklist covers your camera and lenses, power and storage, support and protection, and the useful extras to carry in your daypack on every game drive. Tick each item as you pack and follow your progress with the bar, or print the list and keep it with your travel documents at home. Our experienced local team happily shares further photography advice for your chosen parks and season once your private safari is confirmed in writing.
Camera and Lenses0/5
Power and Storage0/5
Support and Protection0/5
Daypack Extras0/5
Safari Photography Guides
Simple Safari Photography Tips: FAQs
How can I take better safari photos?
Use a telephoto lens, a fast shutter speed and continuous autofocus, rest your lens on a beanbag, shoot in golden-hour light, focus on the eyes and stay patient.
What is the best lens for safari photography?
A telephoto zoom of about 100 to 400mm or 150 to 600mm is the most versatile, with a standard or wide zoom for landscapes and close animals.
What camera settings should I use on safari?
Start with 1/1000 second, f/5.6, auto ISO, continuous autofocus and burst mode, then adjust shutter speed and aperture for the subject and the light.
Can I use my smartphone for safari photos?
Yes. Smartphones work well in good light and for landscapes or close animals. Use the telephoto lens, avoid digital zoom and steady the phone against the vehicle.
Do I need a tripod on safari?
Usually not. Tripods are impractical in safari vehicles. A beanbag on the window or roof hatch is the best support, with a monopod for heavy lenses.
Should I shoot in RAW or JPEG on safari?
Shoot RAW for maximum detail and editing flexibility in high-contrast African light. RAW plus JPEG is useful if you want quick images to share.
What is the best time of day for safari photography?
Early morning and late afternoon give soft, warm light and the most active animals. Midday light is harsh, and many animals rest in the shade.
How do I avoid blurry safari photos?
Use a fast shutter speed, image stabilisation and a beanbag, ask your driver to switch off the engine and use continuous autofocus on moving animals.
How many memory cards should I bring on safari?
Bring enough for at least two days of heavy shooting, plus spares, and back up your images every evening to a drive or laptop.
Can I use flash on safari?
No. Never use flash on wildlife, as it can disturb or stress animals. Use natural light, higher ISO and a wide aperture in low light.
How do I photograph animals from a safari vehicle?
Rest your lens on a beanbag, shoot through the window for lower angles, keep still and quiet, and ask your guide to position for the best light.
Is a private safari better for photography?
Yes. A private vehicle lets you stay at sightings as long as you like, wait for the best light and position for angles, with room for your gear.
How do I protect my camera from dust on safari?
Use a dust cover, avoid changing lenses in dusty or windy conditions, keep gear in a padded bag between sightings and clean it every evening.
What should I photograph besides wildlife on safari?
Photograph landscapes, skies, camp life, your guide, your travel companions and respectful portraits of local people, always asking permission first.
Plan Further: Tanzania Safaris and Destinations
Tanzania Safaris
Destinations
Plan Your Private Photographic Safari
Tell us the wildlife and landscapes you would love to photograph, and our local team in Arusha will design a private tailor-made safari with a patient guide, flexible game drives and time at every sighting.
Book Now Online →What Our Travelers Say
Real 5-star reviews from guests who traveled with us