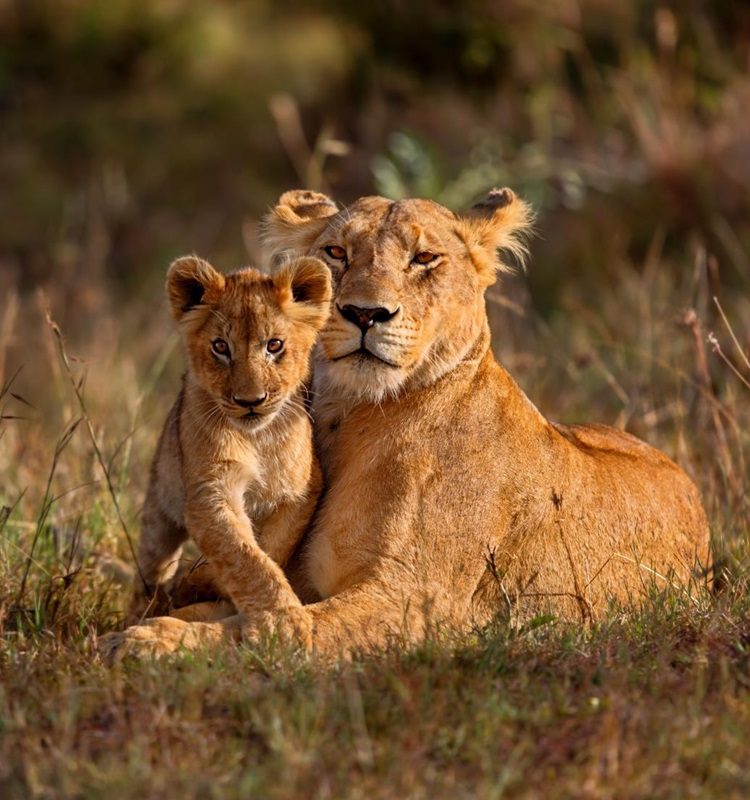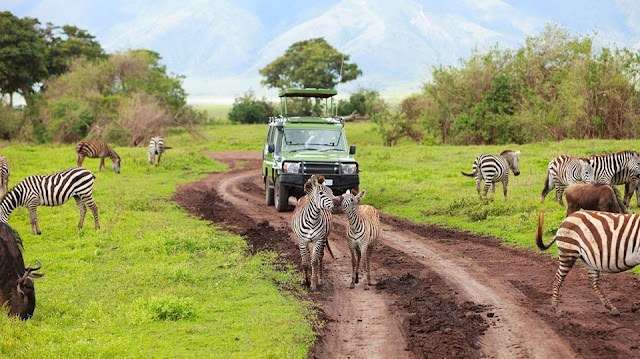
Photographing an African safari as a beginner is easier than you think. Use a mirrorless, DSLR or bridge camera with a telephoto zoom of around 100 to 400mm, learn shutter priority or aperture priority mode, and set a fast shutter speed with continuous autofocus. Shoot in the soft, warm morning and evening light, rest your lens on a beanbag, focus on the eyes and be very patient. This beginner's guide to safari photography explains camera choice, settings, exposure basics, the best parks for beginners and essential gear, from our friendly, experienced local safari team based in Arusha, northern Tanzania.
How can a beginner take good photos on an African safari?
A beginner can take good safari photos by using a camera with a telephoto zoom lens, choosing shutter priority mode at about 1/1000 second with auto ISO, and switching on continuous autofocus and burst mode. Photograph in the golden hours after sunrise and before sunset, steady the lens on a beanbag and always focus on the animal's eyes. Practise at home before travelling, ask your guide for help with positioning, and stay patient at sightings for natural behaviour.
Safari Photography for Beginners: A Step-by-Step Guide
Learning safari photography as a beginner is easiest when you follow a simple step-by-step approach, from choosing your camera to editing your favourite images at home. These six steps take beginners through selecting the right camera, understanding the exposure basics, practising before travel, packing essential gear, shooting smartly on game drives and reviewing and backing up images each evening. Follow them in order, and you will arrive in Tanzania confident with your equipment and ready to capture memorable wildlife moments. Each step builds naturally on the last, so your skills, confidence and results improve steadily throughout your private safari.
Choose the Right Camera
Any camera can take good safari photographs, but a mirrorless or DSLR camera with interchangeable lenses gives beginners the most flexibility. A bridge camera with a long built-in zoom is a light, affordable alternative, and modern smartphones work well in good light. Above all, choose a camera you enjoy using and can operate quickly and confidently.
Learn the Exposure Basics
Shutter speed, aperture and ISO work together to control brightness and sharpness, often called the exposure triangle. Fast shutter speeds freeze movement, wide apertures blur backgrounds and higher ISO brightens images in low light. Understanding these three settings lets you move beyond automatic mode and take far more creative control of your safari photographs every day.
Practise Before You Travel
Practise with your camera for several weeks before your safari. Photograph pets, birds in the garden, local parks or a zoo, and try moving subjects to learn autofocus tracking. Practise changing settings without looking, and test all your batteries and memory cards thoroughly. Confidence with your camera means fewer missed moments when wildlife appears on safari.
Pack the Essentials
Beyond your camera and lenses, pack spare batteries, plenty of memory cards, a car charger or power bank, a beanbag for support and a dust and rain cover. Bring a blower and microfibre cloths to clean your lens, a padded camera bag and a portable drive or laptop to back up all your images every evening at camp.
Shoot Smart on Game Drives
Keep your camera ready on your lap with settings prepared for action. Rest the lens on a beanbag, ask your driver to switch off the engine and stay quiet at sightings. Photograph in bursts during action, try a mix of close-ups and wide scenes, and always tell your guide which subjects you would most love to photograph.
Review, Back Up and Edit
Each evening at camp, review your photographs, delete obvious mistakes and back up the rest to a drive or laptop. Notice which settings and angles worked best, and apply those lessons the next day. Back home, simple editing of exposure, contrast, cropping and colour brings out the best in your safari images without looking unnatural.
Best Camera Modes and Settings for Safari Beginners
Choosing the right camera mode is one of the very quickest ways for beginners to improve their safari photographs, and you do not need to master full manual mode on your first trip. Shutter priority, aperture priority, manual with auto ISO, automatic scene modes and smartphones each suit different subjects, skill levels and situations. Select each tab below to see what each mode is best for, how to set it, its advantages and a practical beginner tip. Start with the recommended and reliable shutter priority mode, then experiment with the others as your confidence grows on game drives.
Shutter Priority Mode for Moving Wildlife
Running, walking and flying animals
Set 1/1000 s or faster, auto ISO, camera sets aperture
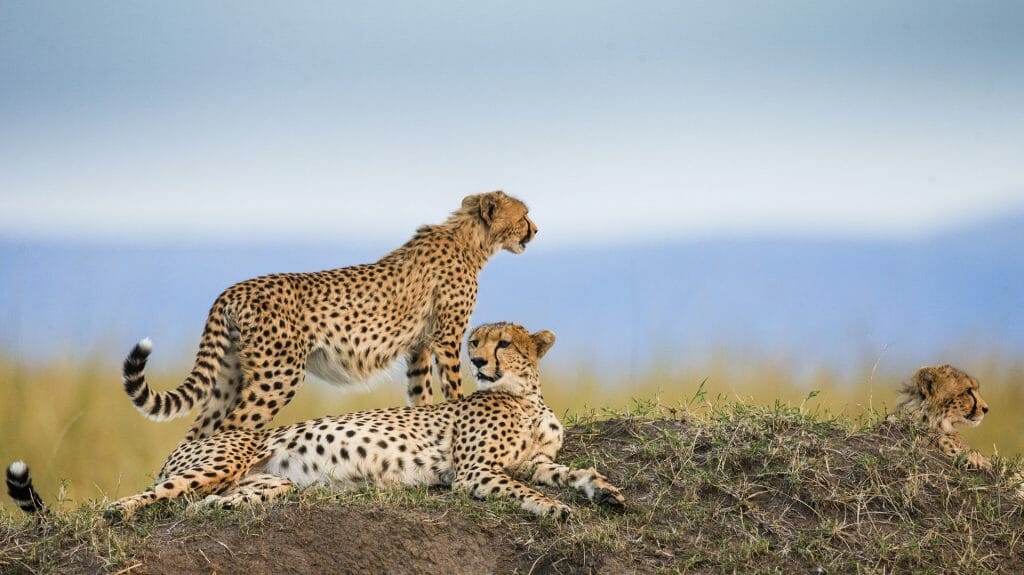
Shutter priority is the easiest creative mode for safari beginners. You choose the shutter speed and the camera chooses the aperture, while auto ISO adjusts brightness. Set 1/1000 second for action, 1/2000 second for birds in flight and 1/500 second for resting animals. This keeps your images sharp in most daylight situations on safari game drives.
Wildlife Photography Tips →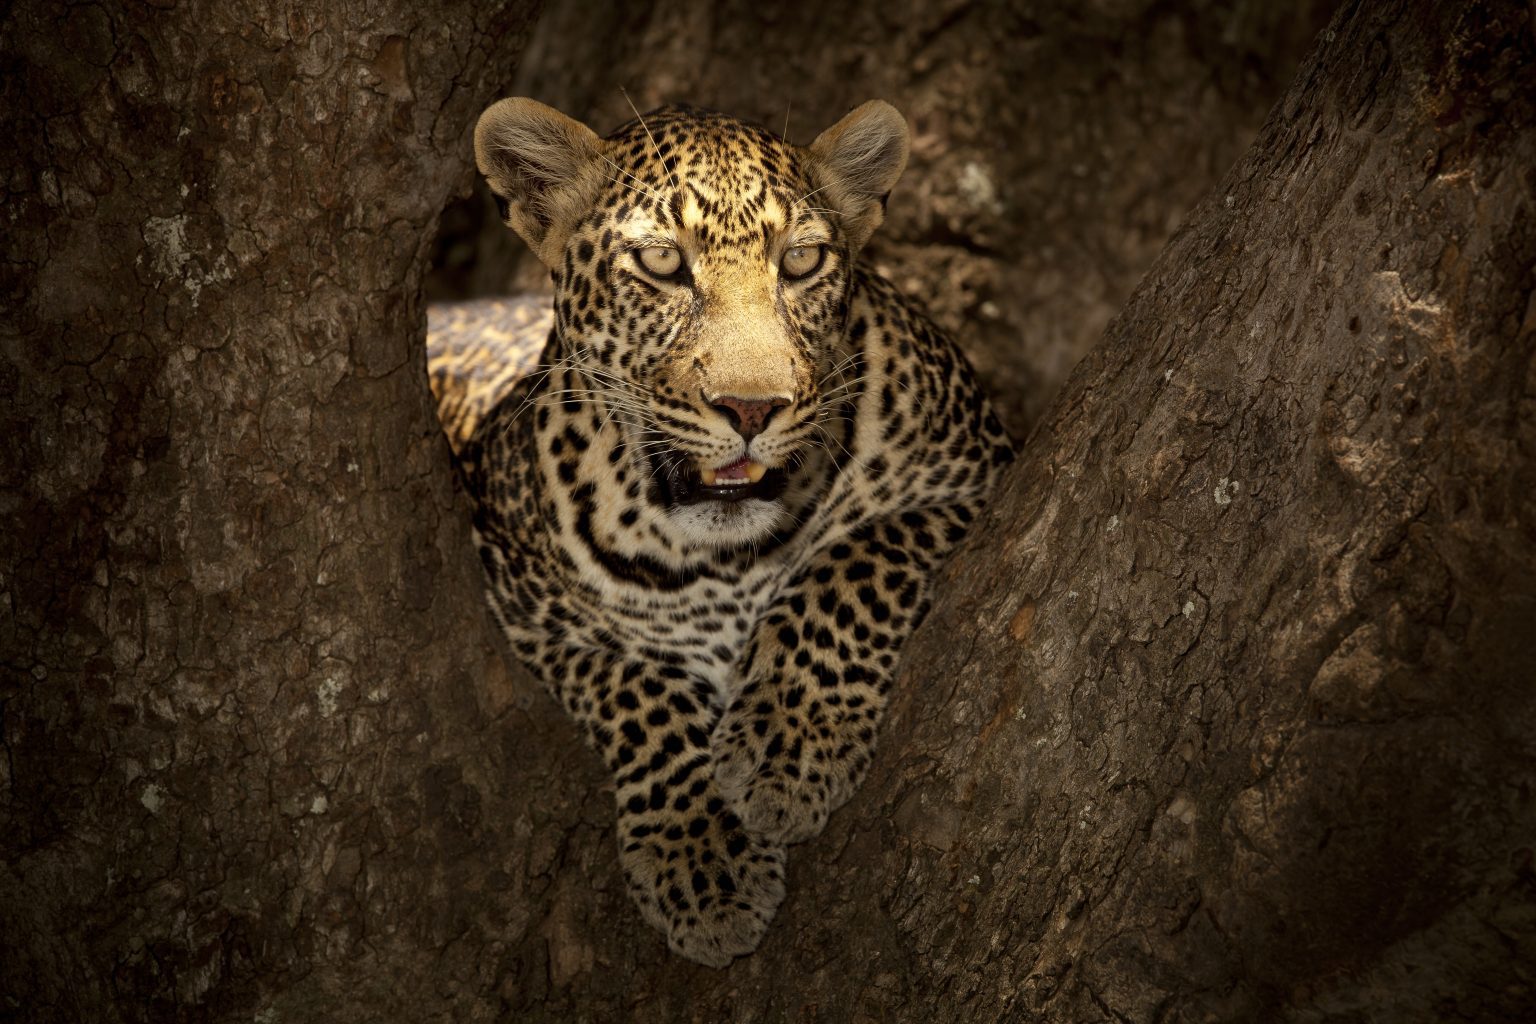
Aperture Priority Mode for Portraits and Low Light
Portraits, resting animals and low light
Set f/4 to f/5.6, auto ISO, camera sets shutter speed
In aperture priority, you choose the aperture and the camera sets the shutter speed. A wide aperture such as f/4 or f/5.6 blurs the background and lets in much more light at dawn and dusk. Watch the shutter speed shown in your viewfinder, and raise ISO if it drops too low for sharp, steady handheld images.
Safari Photography Tips →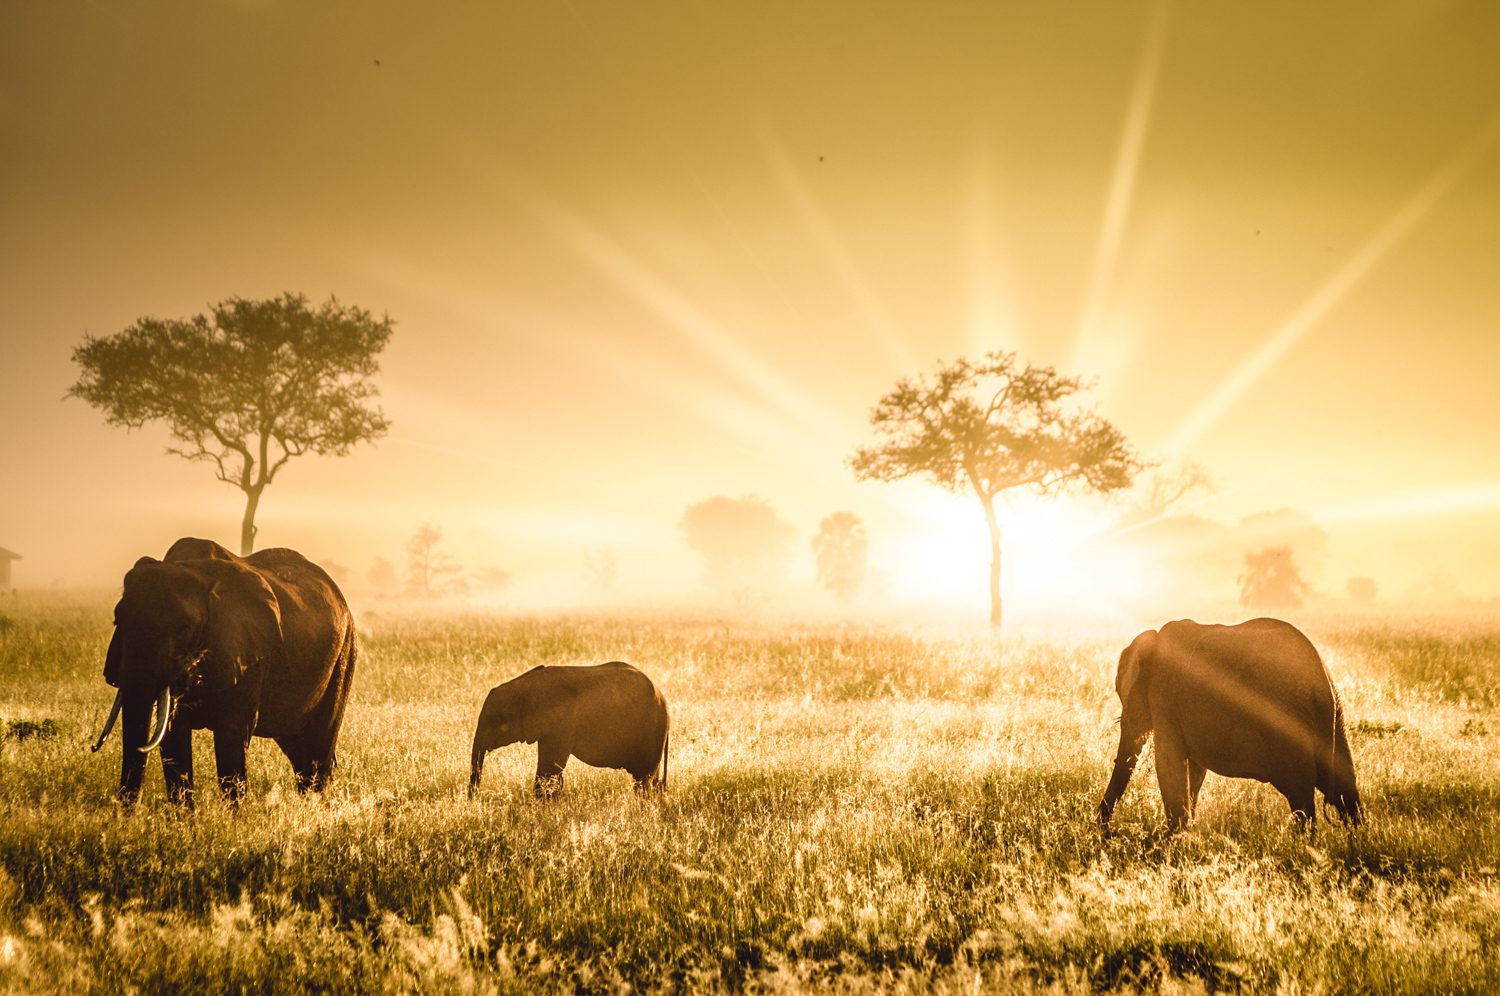
Manual Mode with Auto ISO for More Control
Confident beginners ready to progress
Set shutter speed and aperture, auto ISO sets brightness
Manual mode with auto ISO gives you full control of both shutter speed and aperture, while the camera adjusts ISO for correct brightness. It is a great next step once you feel comfortable with shutter and aperture priority. Use exposure compensation to brighten or darken images in bright skies, dark shade or tricky high-contrast scenes on safari.
Safari Photography by Season →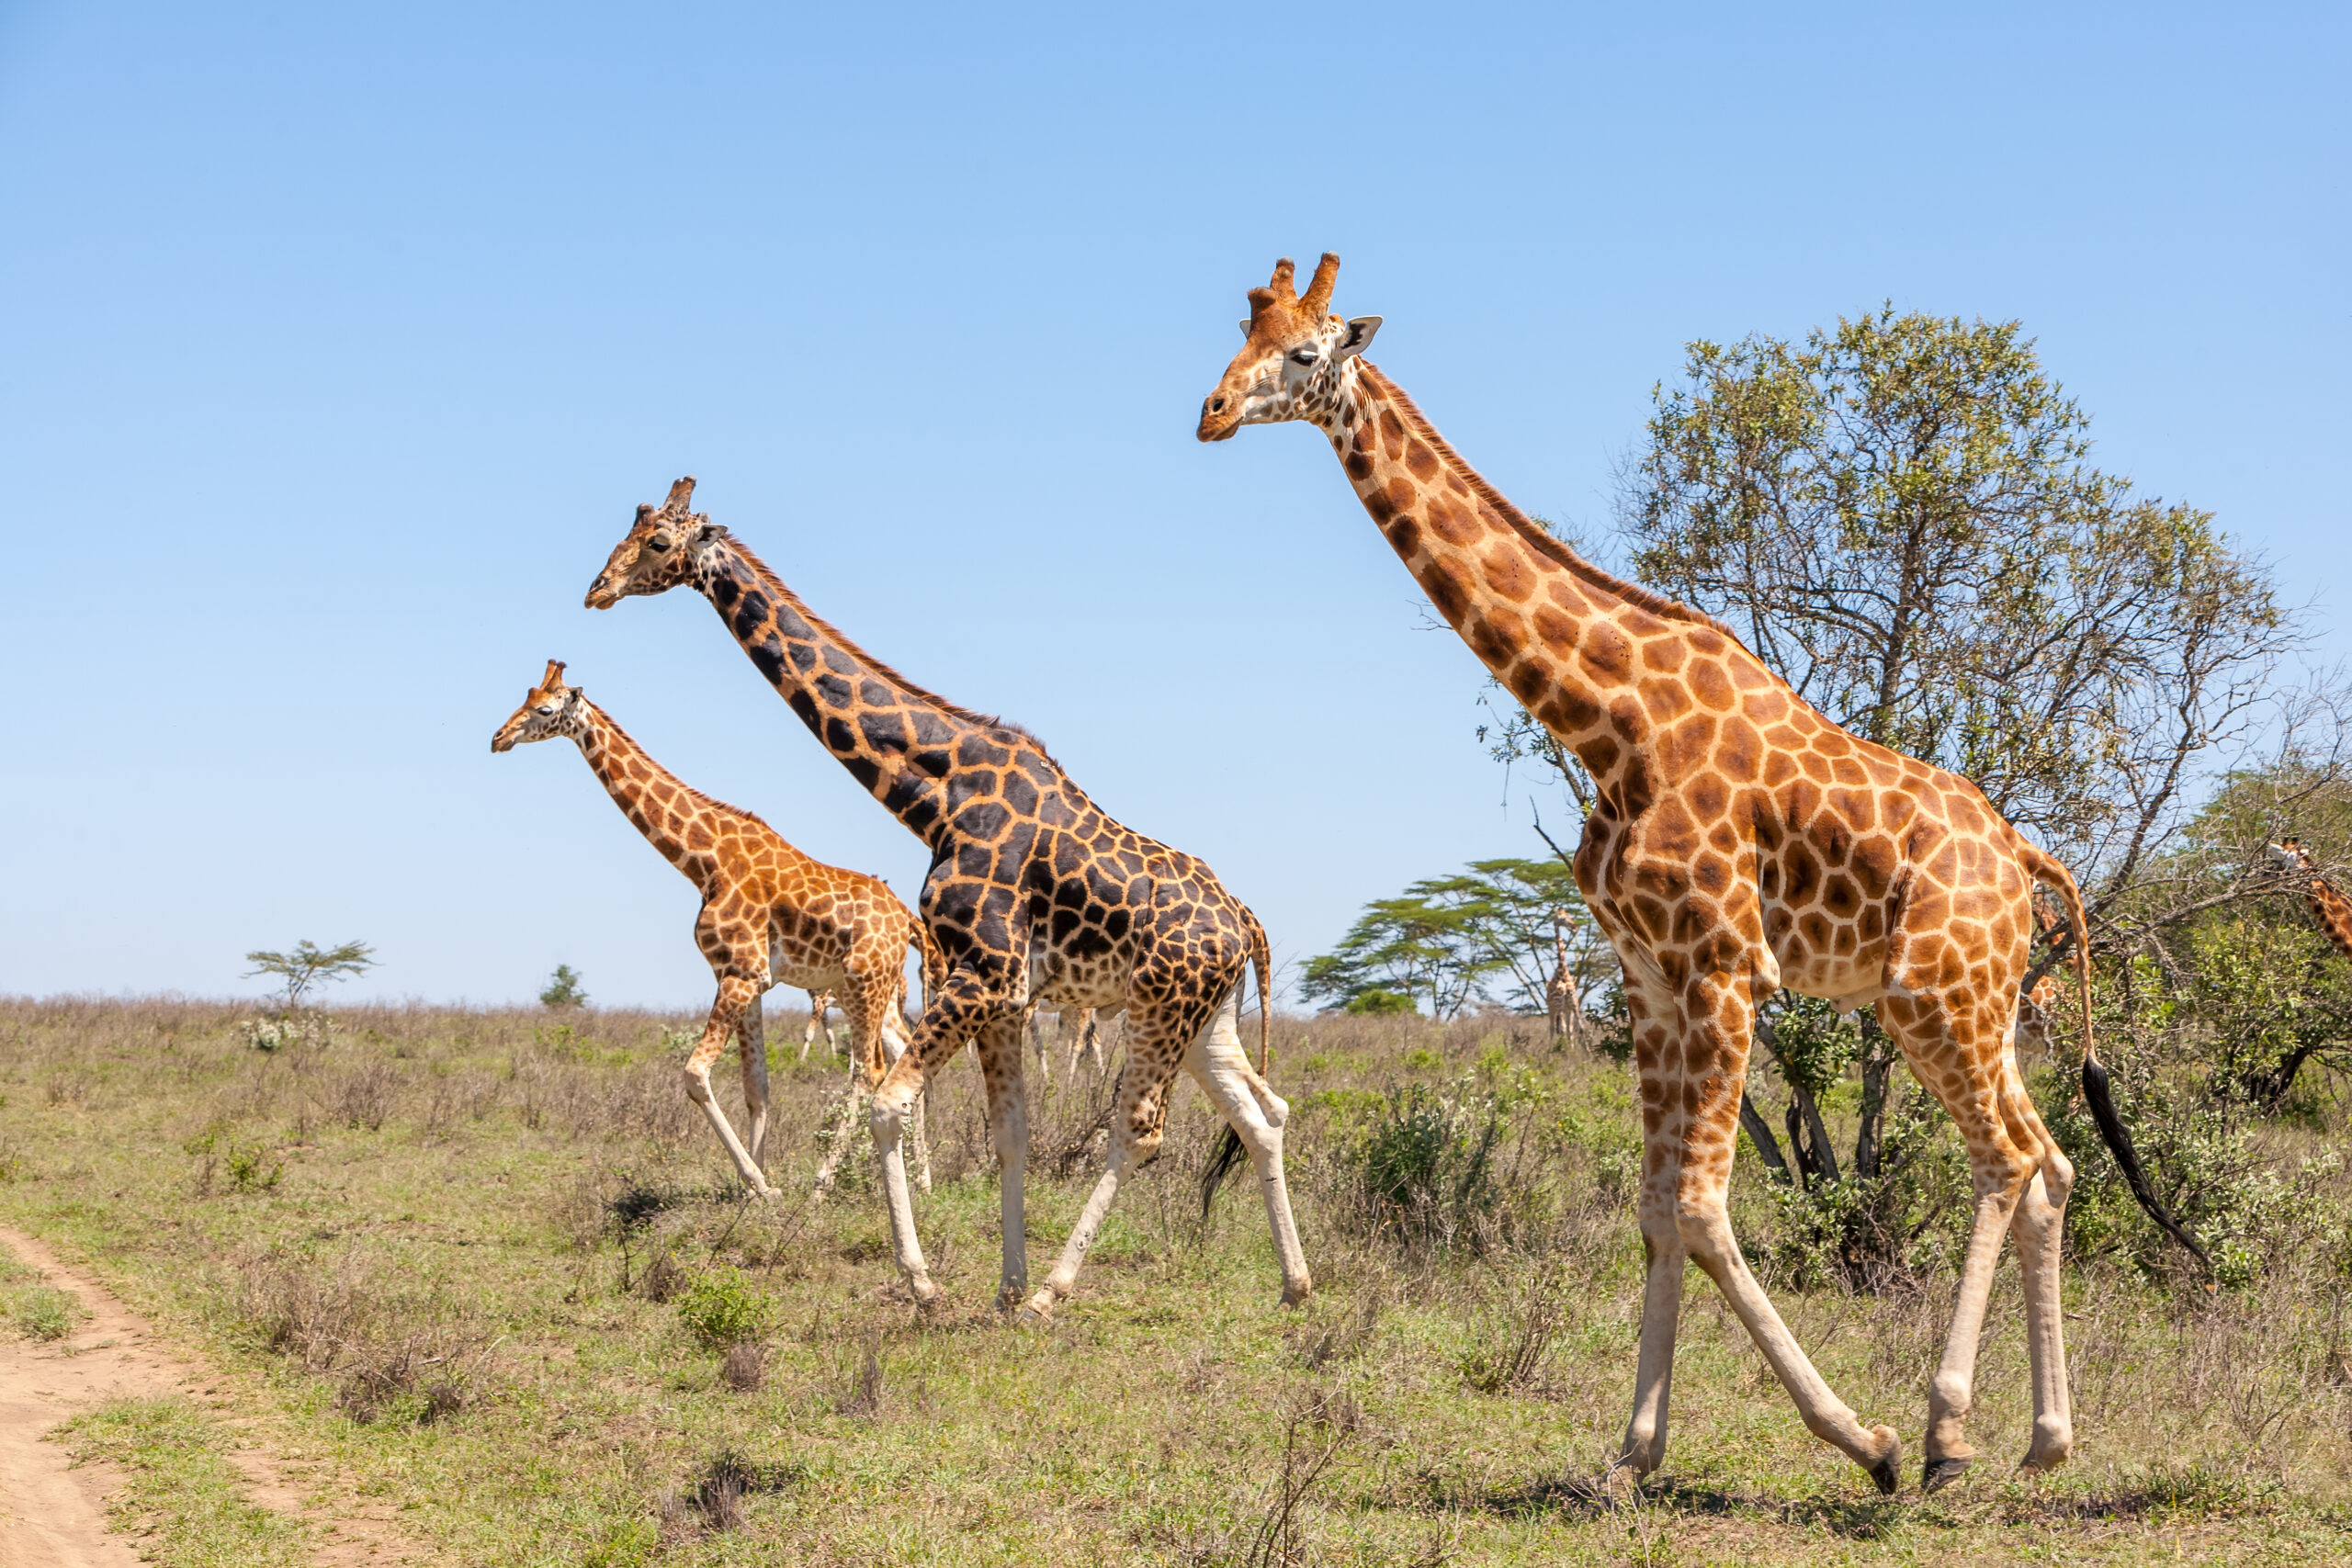
Automatic and Scene Modes for Complete Beginners
First-time camera users and quick snapshots
Choose sports or action mode for moving animals
Automatic and scene modes are a fine starting point if you are completely new to photography. Sports or action mode usually selects a fast shutter speed for moving wildlife, while landscape mode suits wide scenes. Switch off the built-in flash, which disturbs animals, and gradually experiment with shutter priority as your confidence grows during the trip.
Simple Safari Photo Tips →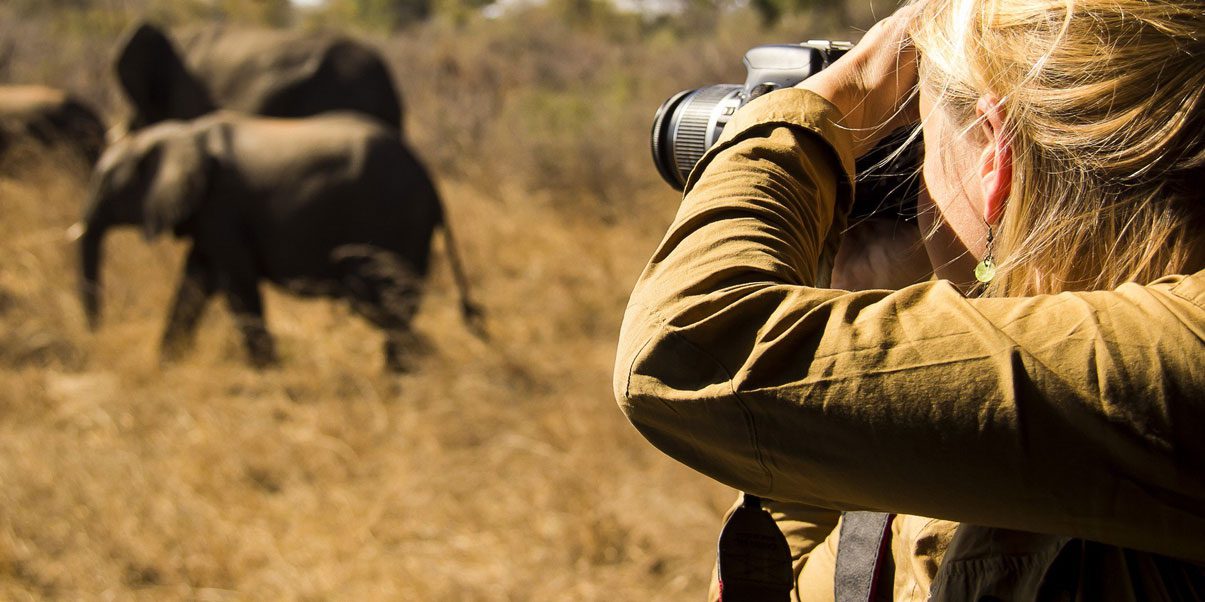
Smartphone Safari Photography for Beginners
Landscapes, camp life and close animals
Use the telephoto lens, avoid digital zoom, tap to focus
Modern smartphones take impressive safari photographs in good light, especially landscapes, camp scenes and animals close to the vehicle. Use the built-in telephoto lens rather than digital zoom, tap the screen to focus on the eyes and steady the phone against the vehicle. A clip-on lens or phone holder can add a little extra reach.
Photography Safaris in Tanzania →The Exposure Triangle Explained for Safari Beginners
Understanding exposure is the key that unlocks better safari photography for beginners, and it is simpler than it first appears. Shutter speed, aperture and ISO, often called the exposure triangle, work together to control brightness, sharpness and background blur, while focus and exposure compensation fine-tune the result. The cards below explain each setting in plain language, with practical starting values for photographing wildlife and landscapes on a Tanzania safari. Learn these basics at home, practise them regularly on everyday subjects such as pets and garden birds, and they will soon become second nature during your game drives in Tanzania.
Shutter Speed
Shutter speed controls how long the sensor is exposed to light and how movement appears. Fast speeds such as 1/1000 second freeze running animals and flying birds, while slower speeds blur motion and risk camera shake. With long safari lenses, keep shutter speeds fast, and use at least one over your focal length for still subjects.
Aperture
Aperture is the size of the lens opening, shown as an f-number. A low number such as f/4 lets in more light and blurs the background, while a higher number such as f/8 or f/11 keeps more of the scene sharp. Use wide apertures for portraits and resting animals, and narrower apertures for herds and landscapes.
ISO
ISO controls how sensitive your camera is to light. Low ISO, such as 100 to 400, gives clean images in bright conditions, while higher ISO brightens images at dawn, dusk and in shade but adds noise. Auto ISO is ideal for beginners, letting the camera adjust brightness while you concentrate on controlling shutter speed and aperture.
Focus and Exposure Compensation
Use continuous autofocus to track moving animals and place your focus point on the nearest eye. Exposure compensation brightens or darkens your images when the camera is fooled by bright skies, white birds or dark animals. Check the screen and histogram regularly, and adjust by small steps until highlights and shadows both keep plenty of detail.
Best Tanzania Parks for Beginner Safari Photographers
Some parks are especially rewarding for beginner photographers, thanks to dense wildlife, open landscapes and animals that are relaxed around vehicles. In northern Tanzania, Ngorongoro Crater, the Serengeti, Tarangire and Lake Manyara combine easily on a classic private itinerary and offer a wonderful variety of subjects. The cards below explain why each park suits beginners, the best time to visit and what you can expect to photograph, with links to our detailed park guides. Our friendly, experienced local team will happily recommend the ideal combination of parks for your personal interests, travel dates, budget and photographic experience level.
Ngorongoro Crater
Ngorongoro Crater is ideal for beginners, with dense wildlife on an open crater floor and dramatic walls as a backdrop. Lions, elephants, buffalo, zebras, flamingos and the rare black rhino can all be seen in a single day. Animals are used to vehicles, giving relaxed sightings and plenty of time to practise your camera settings calmly.
Serengeti National Park
The Serengeti offers endless photographic opportunities, from big cats on kopjes to the Great Migration herds. Its open plains make it easier to see and photograph wildlife, and the central Serengeti is rewarding all year. Beginners quickly gain confidence here, with frequent sightings of lions, cheetahs, leopards, elephants, giraffes and countless zebras, wildebeest and other plains game.
Tarangire National Park
Tarangire is perfect for beginners who love elephants, with large herds gathering along the river among ancient baobab trees, especially in the dry season. The park is close to Arusha, making it an easy and rewarding first stop to practise your settings. It is also rewarding for lions, giraffes, colourful birds and beautiful landscape compositions.
Lake Manyara National Park
Lake Manyara is a compact, varied park and a gentle introduction to safari photography. Groundwater forest, open floodplains and the lake offer baboons, elephants, giraffes, hippos, flamingos and hundreds of bird species. Short distances between sightings give beginners time to practise different subjects, lenses and settings within a single, relaxed and very rewarding game drive in the park.
Patience, Respect and Safari Etiquette for Photographers
Great safari photography depends as much on patience and respect as on cameras and settings, and beginners who follow good etiquette usually enjoy better sightings. Putting wildlife first, behaving considerately in the vehicle, photographing local people respectfully and taking time to enjoy each moment all lead to calmer animals and more authentic images. The cards below explain these simple principles, which every responsible safari photographer should follow in Tanzania's national parks and communities. Practising them consistently protects both wildlife and local people, and it creates more relaxed, rewarding experiences for you and your guide on every game drive.
Put Wildlife First
Ethical photography means never disturbing animals for a picture. Keep a safe distance, never use flash, avoid calling or making noises to attract attention and never ask your guide to drive off permitted tracks. Calm, relaxed animals behave naturally, which always produces more authentic and beautiful photographs than stressed animals reacting nervously to people and vehicles.
Practise Vehicle Etiquette
Inside the safari vehicle, keep movement and noise to a minimum at sightings, and avoid standing suddenly or leaning out of windows. Tell your guide when you would like to stay longer or reposition for light. Follow your guide's instructions at all times, as they know animal behaviour and park rules best for everyone's safety.
Photograph People Respectfully
When visiting villages or meeting local people, always ask permission before taking photographs, and respect any request not to be photographed. Your guide can help with introductions and translation. Take time to talk and learn about local culture first, and consider offering to show people their photographs on your camera screen as a friendly gesture.
Enjoy the Moment
As a beginner, it is easy to spend every moment behind the camera. Remember to put it down sometimes and simply watch, listen and enjoy the experience with your own eyes. Some sightings are best remembered rather than photographed, and observing behaviour first often helps you anticipate and capture far better images later on during the drive.
Beginner Safari Photography Checklist
This interactive checklist helps beginners prepare everything they need for a successful first photographic safari in Tanzania. It covers what to practise at home before travelling, the camera gear and accessories to pack, the settings to check before each game drive and simple habits to follow at camp every evening. Tick each item as you go and follow your progress with the bar, or print the list to keep in your camera bag for quick reference on game drives. Our friendly local team will happily answer any further photography questions once your private safari is confirmed in writing.
Before You Travel0/5
Gear to Pack0/5
Before Each Drive0/5
Every Evening0/5
Safari Photography Guides
Beginner Safari Photography: FAQs
What camera is best for a beginner on safari?
A mirrorless or DSLR camera with a 100 to 400mm zoom is ideal. A bridge camera with a long zoom is a lighter, more affordable option for beginners.
What settings should beginners use on safari?
Use shutter priority at about 1/1000 second, auto ISO, continuous autofocus and burst mode. This keeps moving animals sharp in most daylight situations.
Do I need a big lens for safari photography?
A telephoto zoom of around 100 to 400mm covers most needs. Longer lenses help with birds and distant animals, but they are heavier and more expensive.
Can beginners use a smartphone on safari?
Yes. Smartphones are excellent for landscapes, camp life and close animals in good light. Use the telephoto lens and avoid digital zoom.
Should beginners shoot in automatic mode?
Automatic mode is fine to start, but shutter priority gives better results for moving wildlife. Always switch off the flash, which disturbs animals.
What is the exposure triangle?
The exposure triangle is the relationship between shutter speed, aperture and ISO, which together control brightness, sharpness and background blur.
What is the best time of day for safari photos?
Early morning and late afternoon give soft, warm light and active wildlife. Midday light is harsh, and many animals rest in the shade.
How do I avoid blurry safari photos?
Use a fast shutter speed, continuous autofocus and a beanbag for support, and ask your driver to switch off the engine before you shoot.
Do I need a tripod on safari?
No. Tripods are impractical in safari vehicles. A beanbag on the window frame or roof hatch is the best and simplest support.
Should I shoot RAW or JPEG as a beginner?
JPEG is simpler, but RAW keeps more detail for editing. RAW plus JPEG gives beginners quick images to share and flexibility for later.
Which Tanzania park is best for beginner photographers?
Ngorongoro Crater is ideal, with dense, relaxed wildlife in an open setting. The Serengeti, Tarangire and Lake Manyara are also excellent.
How many memory cards should I bring?
Bring enough for at least two days of shooting, plus spares, and back up your images every evening to a drive or laptop.
Can my guide help with photography?
Yes. Experienced guides position the vehicle for light and angles, anticipate behaviour and share useful advice. Tell them your photography priorities.
Is a private safari better for beginner photographers?
Yes. A private vehicle lets you take your time at sightings, ask questions and practise settings at your own pace without any pressure.
Plan Further: Tanzania Safaris and Destinations
Tanzania Safaris
Destinations
Plan Your Private Photographic Safari
Tell us your experience level and the wildlife you would love to photograph, and our local team in Arusha will design a private tailor-made safari with a patient guide who helps you get the best shots.
Book Now Online →What Our Travelers Say
Real 5-star reviews from guests who traveled with us